The Ultimate Guide to Bicycle Brake Pads - When to Replace for Optimal Safety
Bicycle brake pads are a critical component of your bike's braking system, ensuring your safety and the bike's performance. Over time, brake pads wear down due to friction, and their ability to stop your bike effectively decreases. Knowing when and how to replace your brake pads is essential for every cyclist. This guide will walk you through the signs of worn brake pads, the types of brake pads available, and step-by-step instructions on replacing them.
Signs Your Brake Pads Need Replacing
- Reduced Braking Efficiency: If your bike takes longer to stop than usual or the brakes feel less responsive, it's a clear sign your brake pads are wearing out.
- Visual Wear: Inspect your brake pads regularly. If the pad's thickness is less than 1/4 inch (about 3 mm), it's time for a replacement.
- Squeaking Noises: Unusual noises during braking can indicate that your brake pads are worn out.
- Irregular Pad Surface: If the surface of the pad is uneven or has deep grooves, replace the pads to ensure even braking.
Types of Brake Pads
1. Rim Brake Pads
- Caliper Brake Pads: Used in road bikes, attached directly to the brake caliper.
- Cantilever/V-Brake Pads: Found in mountain and some road bikes, these pads press against the rim to stop the bike.
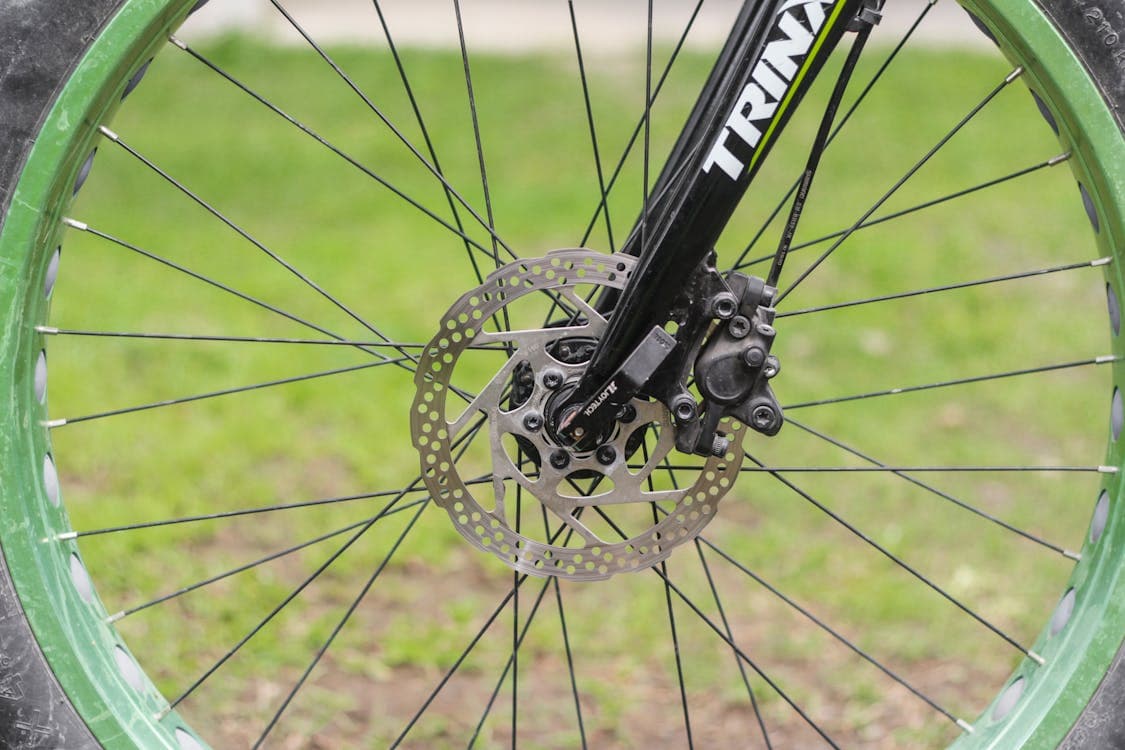
2. Disc Brake Pads
- Sintered (Metallic): Last longer and perform better in wet and muddy conditions but can be noisier.
- Organic (Resin): Provide quieter operation and better modulation but wear out faster, especially in wet conditions.
How to Replace Your Brake Pads
Tools You'll Need:
- Allen keys or a specific brake pad removal tool
- New brake pads
- Cleaning supplies (isopropyl alcohol and a clean rag)
Steps for Rim Brake Pads:
- Open the Brake: Squeeze the brake arms together and unhook the brake cable to release tension.
- Remove the Old Pads: Use an Allen key to loosen the bolt holding the brake pad. Slide the pad out.
- Clean the Brake Surface: Wipe the rim with isopropyl alcohol for a clean surface.
- Install New Pads: Slide the new pads in, ensuring they're correctly oriented. Tighten the bolt securely.
- Adjust the Brake: Reattach the brake cable and adjust the pad's position so it aligns properly with the rim.
Steps for Disc Brake Pads:
- Remove the Wheel: This provides easier access to the brake caliper.
- Open the Caliper: Some models have a pin or bolt securing the pads. Remove this first.
- Take Out Old Pads: Slide the old pads out. Note their orientation for reinstallation.
- Clean the Caliper and Rotor: Use isopropyl alcohol to clean these components.
- Insert New Pads: Place the new pads into the caliper in the correct orientation.
- Reassemble and Adjust: Replace any pins or bolts removed earlier. Reinstall the wheel and test the brakes for proper operation.
Conclusion
Regularly checking and replacing your bicycle's brake pads is crucial for maintaining optimal safety and performance. By following this guide, you can ensure your bike stops effectively and you enjoy a safer riding experience. Remember, if you're ever unsure about replacing your brake pads, consult a professional mechanic for assistance.
