A Step-by-Step Guide to Touching Up Paint on Your Walls
Touching up paint on your walls can seem daunting, but with the right tools and techniques, it can be a simple and satisfying task. Whether you're dealing with scuffs, marks, or peeling paint, a quick touch-up can make your walls look as good as new. Here’s a detailed guide to help you achieve professional-looking results.
Materials Needed
Before you start, gather all the necessary materials:
- Paint: Use the original paint used on your walls for the best match.
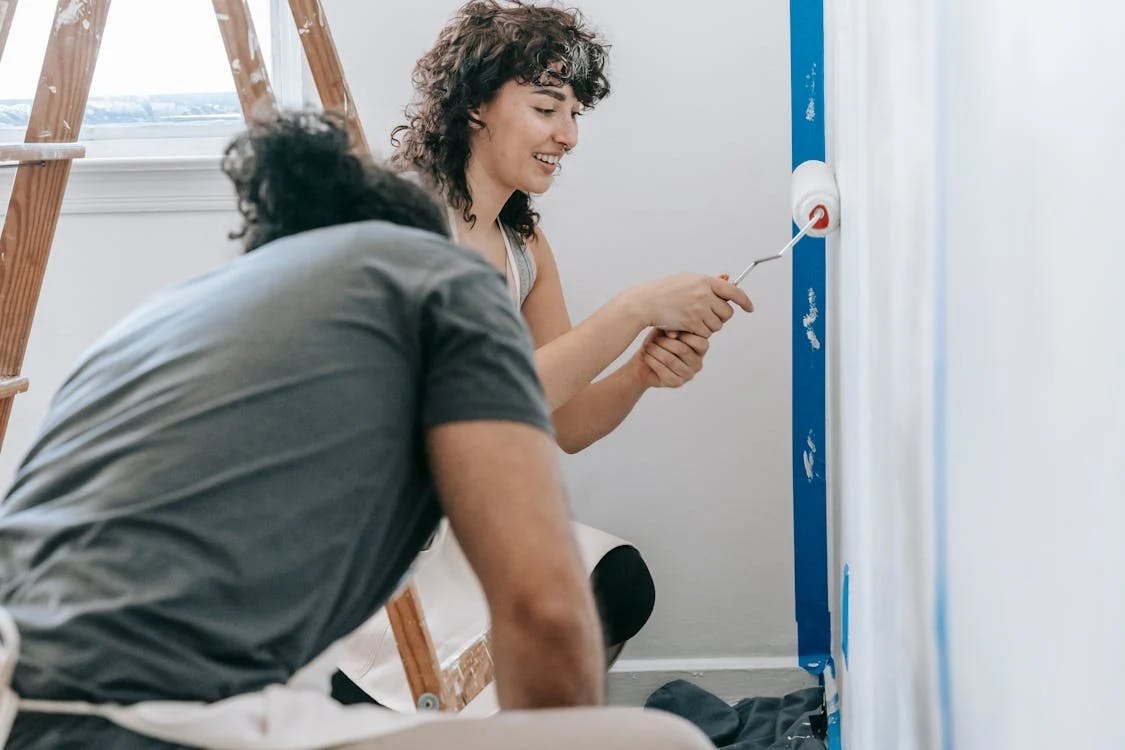
- Paintbrush or Roller: Choose a small brush for precision or a mini roller for larger areas.
- Paint Tray: For pouring and rolling paint.
- Sandpaper: Fine-grit sandpaper to smooth out any rough spots.
- Cleaning Supplies: Mild soap and water or a degreaser to clean the wall.
- Painter’s Tape: To protect adjacent surfaces.
- Cloth or Tarp: To cover the floor and furniture.
Step 1: Prepare the Area
- Clean the Wall: Wash the area to be touched up with a mild soap solution or a degreaser, especially if it's in a kitchen or bathroom. Allow the wall to dry completely.
- Sand the Surface: If there are any rough spots or peeling paint, lightly sand the area with fine-grit sandpaper. Be gentle to avoid damaging the wall further.
- Tape Off the Area: Use painter’s tape to mask off any trim, ceilings, or adjacent walls that you don’t want to accidentally paint.
Step 2: Prime the Spot (If Necessary)
If you’re covering a dark scuff or a repaired area, apply a thin coat of primer to ensure an even finish. Allow the primer to dry as directed on the label.
Step 3: Paint
- Stir the Paint: Make sure the paint is well mixed to ensure color consistency.
- Apply the Paint: Dip your brush or roller into the paint and apply it to the wall. Start from the center of the spot and work your way outwards to blend with the surrounding area.
- Use Light Strokes: Use light, even strokes to avoid creating noticeable brush marks.
- Apply Multiple Coats: If necessary, wait for the first coat to dry, then apply a second coat to achieve the desired coverage.
Step 4: Clean Up
Remove the painter’s tape while the paint is still slightly wet to avoid peeling off any fresh paint. Clean your brushes and rollers with soap and water, and store your paint properly for future touch-ups.
Step 5: Inspect and Retouch
Once the paint is completely dry, inspect the area. If you notice any uneven spots or brush strokes, you can lightly sand the area and apply another light coat of paint.
Touching up your wall paint is a great way to refresh your space without the effort and expense of a full repaint. With these steps, you can easily maintain the beauty and integrity of your walls.
For more detailed guidance or specific questions, remember that Mavyn offers both AI and human expert help services. You can chat with Mavyn GPT or connect with a human expert to get personalized answers to your painting and home improvement questions.