How to Replace and Maintain Your Vehicle's Shock Absorbers
Shock absorbers are crucial components of a vehicle's suspension system, providing a smoother ride and improved handling by absorbing and damping shock impulses. Over time, however, they wear out and may require replacement to maintain optimal performance. This guide will walk you through the process of replacing and maintaining your vehicle's shock absorbers.
Signs You Need New Shock Absorbers
Before diving into the replacement process, it's important to recognize the signs that your shock absorbers need attention:
- Rough Ride: The car feels bumpy or shaky even on relatively smooth roads.
- Braking Issues: Increased stopping distance or the vehicle nose-dives when braking.
- Steering Problems: Difficulty steering or the vehicle pulls to one side.
- Uneven Tire Wear: Premature or uneven wear on your tires.
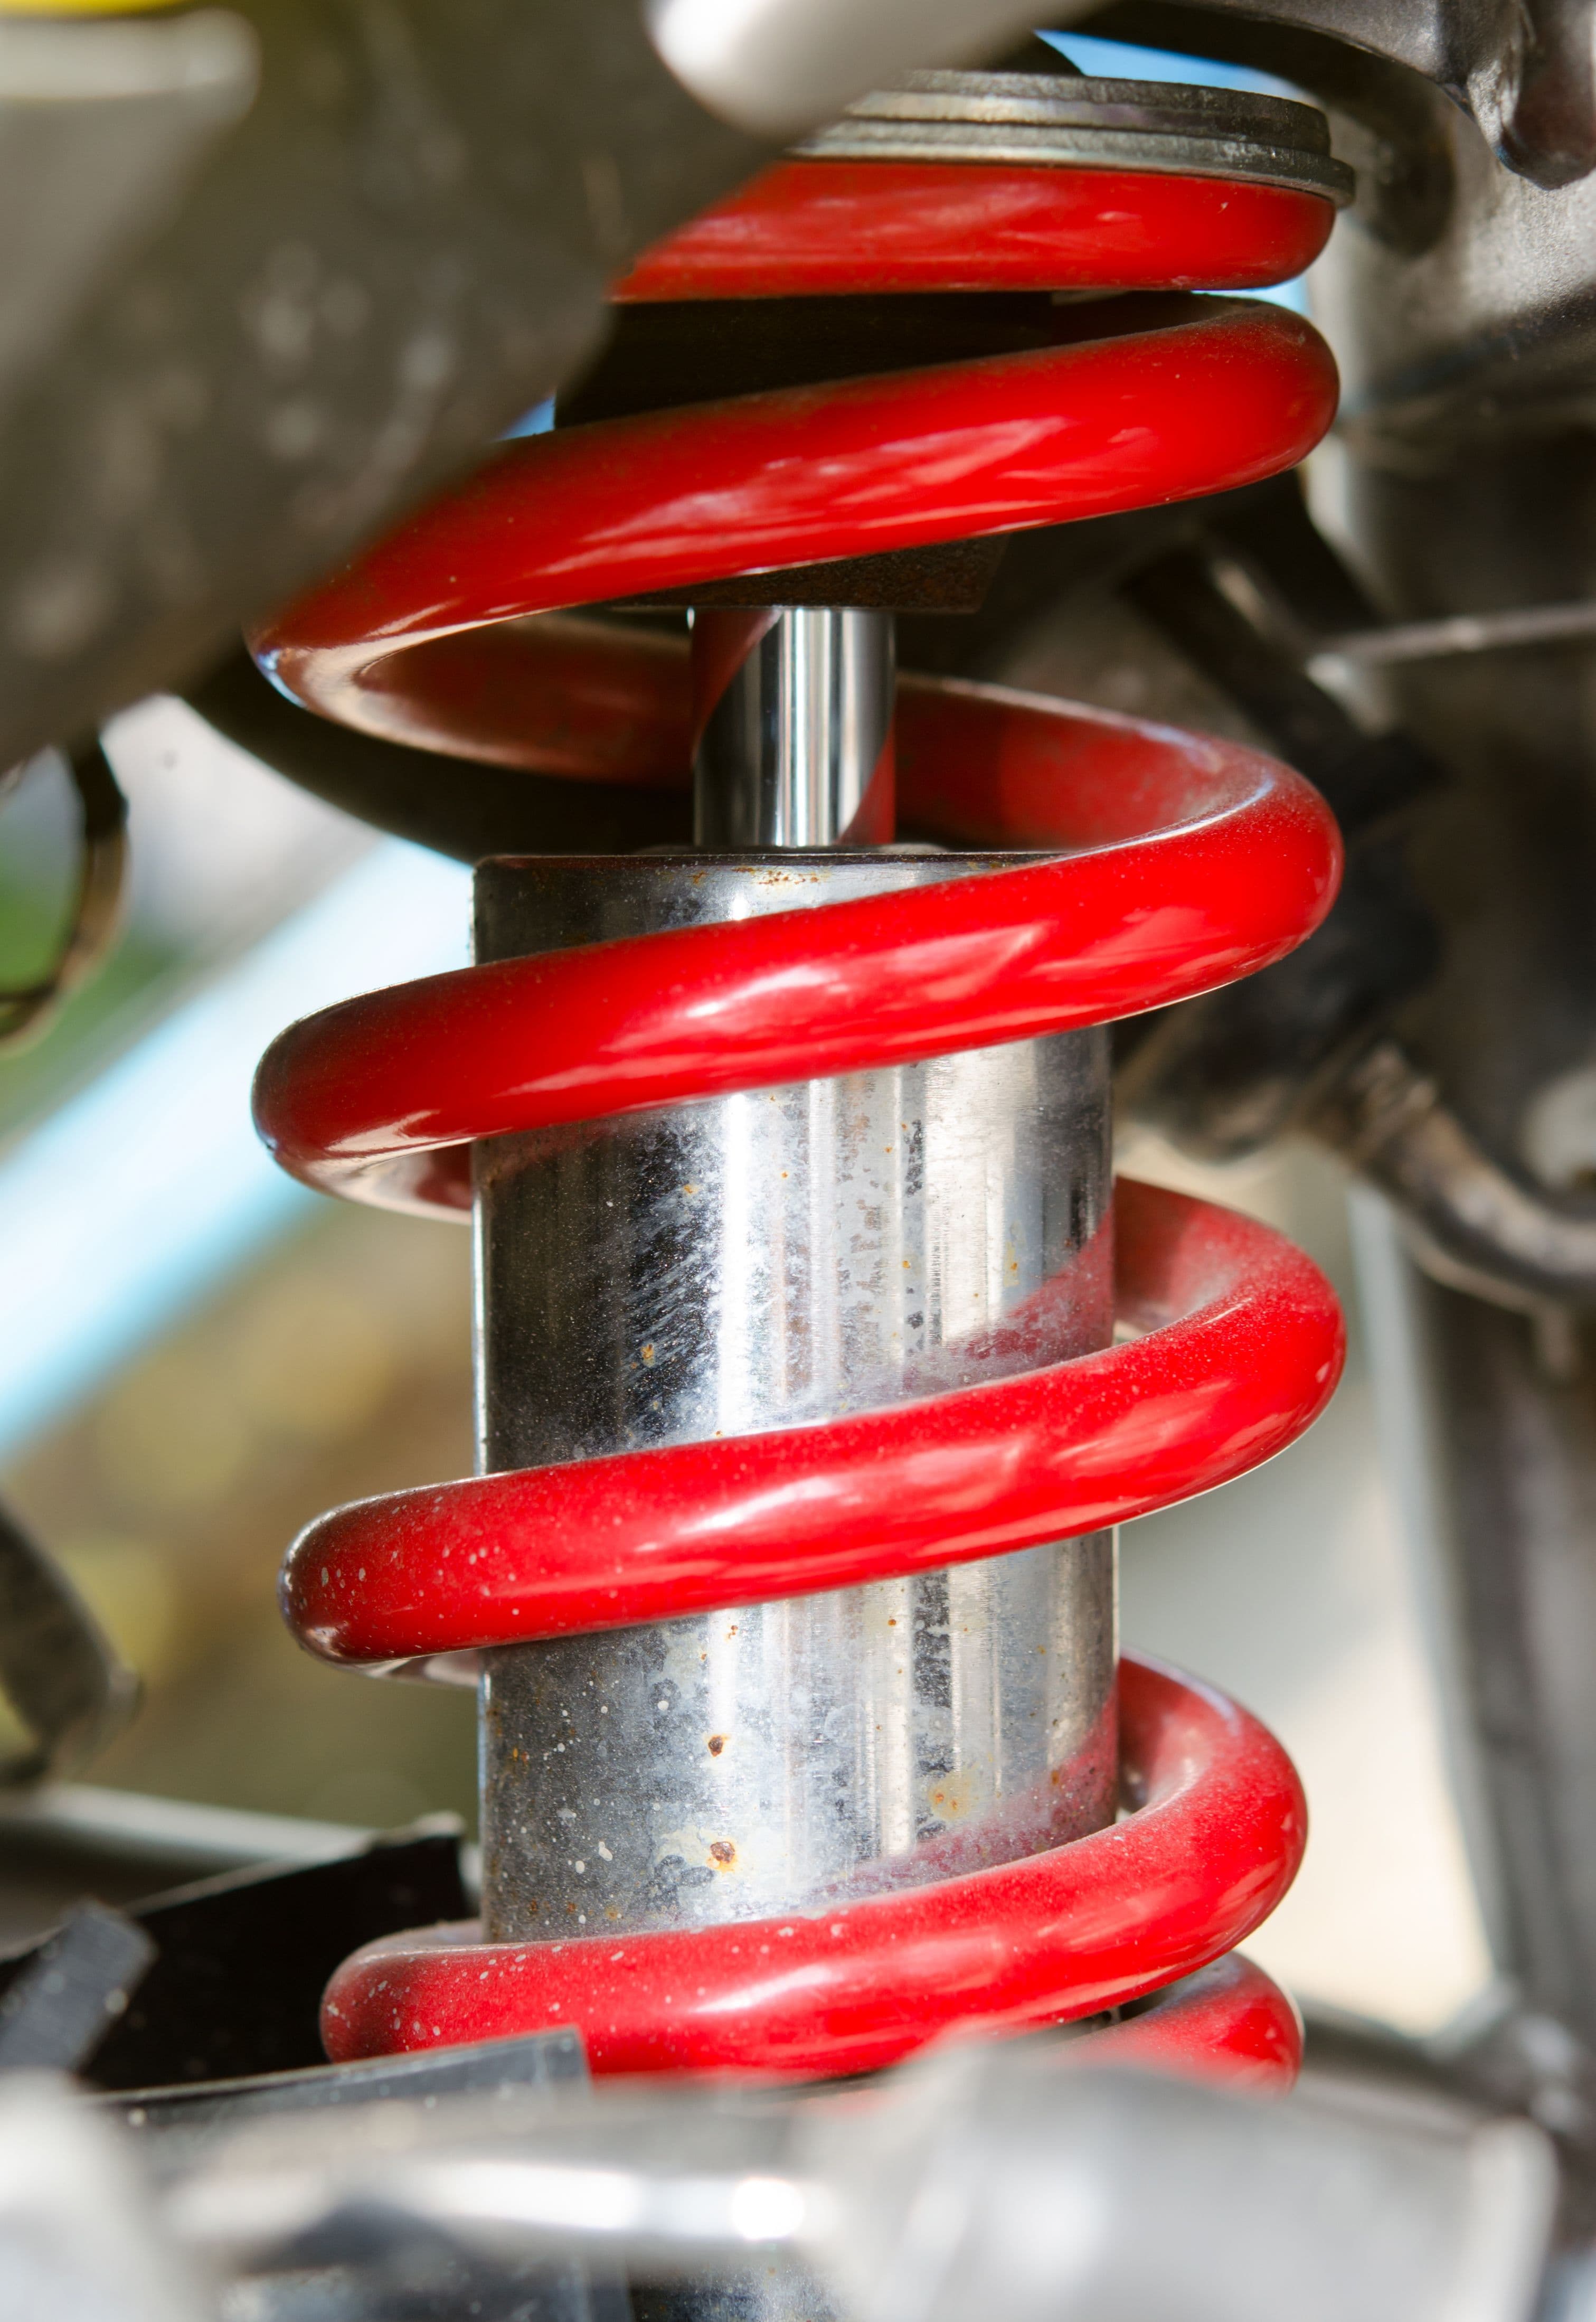
- Visible Damage: Leaks, dents, or visible damage to the shock absorbers.
Tools and Materials Needed
- New shock absorbers
- Jack and jack stands
- Lug wrench
- Socket set
- Wrench set
- Screwdrivers
- Safety glasses
- Gloves
Step-by-Step Replacement Process
1. Prepare Your Vehicle
- Safety First: Park on a flat, stable surface and engage the parking brake.
- Access: Use the jack to lift the vehicle and secure it with jack stands. Remove the wheel closest to the shock absorber you're replacing.
2. Remove the Old Shock Absorber
- Locate and Loosen: Find the shock absorber. Loosen (but do not fully remove) the top and bottom mounting bolts or nuts.
- Remove Mounting Bolts: Once loosened, fully remove the mounting bolts or nuts.
- Take Out the Shock: Carefully remove the old shock absorber from the vehicle.
3. Install the New Shock Absorber
- Position the New Shock: Place the new shock absorber into position.
- Secure with Bolts: Hand-tighten the top and bottom mounting bolts or nuts to secure the new shock in place.
- Tighten to Specification: Use a torque wrench to tighten the bolts to the manufacturer's specified torque.
4. Final Checks and Reassembly
- Double-Check Tightness: Ensure all bolts are securely tightened.
- Reattach the Wheel: Put the wheel back on and lower the vehicle from the jack stands.
- Test Drive: Take a short test drive to ensure everything is working correctly.
Maintenance Tips
- Regular Inspection: Periodically check your shock absorbers for signs of wear or damage.
- Clean Regularly: Keep the shock absorber area clean of dirt and debris to prevent premature wear.
- Check for Leaks: Any sign of fluid leakage may indicate a failing shock absorber.
Conclusion
Replacing and maintaining your vehicle's shock absorbers is a vital part of ensuring a safe and comfortable driving experience. While the process may seem daunting at first, following these steps will help you successfully replace your shock absorbers. Remember, if you're ever unsure about performing this task yourself, it's best to consult with a professional mechanic.