Bicycle maintenance is crucial for a safe and enjoyable riding experience. One key aspect of maintenance is ensuring your brake pads are in good condition. Worn-out brake pads can significantly reduce your braking efficiency, putting you at risk. This guide will walk you through how to identify and replace worn-out bicycle brake pads.
Identifying Worn-Out Brake Pads
1. Visual Inspection: The first step is to visually inspect your brake pads. Most brake pads have wear indicators, such as lines or holes, that disappear as the pad wears down. If these indicators are barely visible or completely gone, it's time for a replacement.
2. Measure Thickness: Use a caliper to measure the thickness of your brake pads. If the pad is less than 1.5mm thick, including the backing plate, it's time to replace it.
3. Listen for Sounds: Squealing or scraping sounds during braking can indicate that your brake pads are worn out and possibly damaging your rims or discs.
4. Poor Braking Performance: If you notice a decrease in your braking performance or if it takes longer to stop, your brake pads might be worn out.
Replacing Your Brake Pads
Tools and Materials Needed:
- New brake pads
- Allen keys or a screwdriver (depending on your brake system)
- Isopropyl alcohol (for cleaning)
- Clean rag
Step 1: Secure Your Bike Secure your bike in a stand or flip it so it rests on the handlebars and saddle. This will give you easy access to the wheels and brakes.
Step 2: Remove the Wheel Carefully remove the wheel from your bike. This will give you better access to the brake pads and calipers.
Step 3: Remove the Old Brake Pads
- For rim brakes, open the brake caliper using the lever or by removing the retaining pin or bolt. Slide the old pads out.
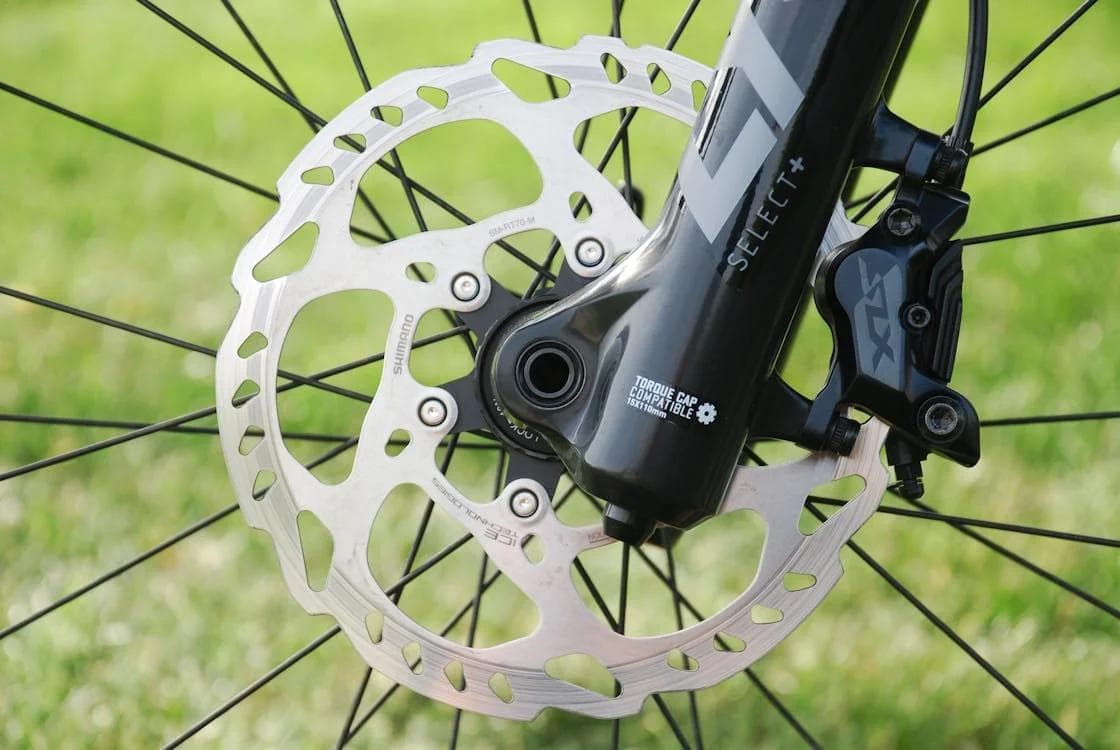
- For disc brakes, you may need to remove a retaining clip or pin before sliding the pads out of the caliper.
Step 4: Clean the Caliper and Rotor Use isopropyl alcohol and a clean rag to clean the brake caliper and rotor. This removes any dirt, grease, and debris, ensuring your new pads have a clean surface to contact.
Step 5: Insert New Brake Pads Slide the new brake pads into the caliper. Make sure they are correctly oriented and fully seated. For disc brakes, ensure the pads are on either side of the rotor. Replace any retaining clips or pins you removed.
Step 6: Reattach the Wheel Carefully place the wheel back into the frame, ensuring it's properly seated and secure.
Step 7: Adjust the Brake Pads Adjust the position of the brake pads if necessary, so they align properly with the braking surface. For rim brakes, make sure the pads are parallel to the rim and don't touch the tire. For disc brakes, ensure there's no rubbing between the pad and rotor.
Step 8: Test the Brakes Before going for a ride, test your brakes to ensure they're working correctly. It's normal for new pads to require a bedding-in period, so they might not perform optimally immediately.
Conclusion
Regularly checking and replacing your bicycle's brake pads is essential for maintaining optimal braking performance and safety. By following this guide, you can easily identify when your brake pads need replacing and how to do it yourself, saving time and money while keeping your rides smooth and safe.