From Novice to Pro: A Comprehensive Guide to Rebuilding Engines in Classic Cars
Rebuilding an engine, especially in a classic car, can be a daunting yet rewarding project. Whether you're a novice with a passion for classic cars or a seasoned mechanic looking to refine your skills, this guide will walk you through the essential steps and considerations for successfully rebuilding an engine in a classic car.
Understanding the Basics
Before diving into the engine rebuild process, it's crucial to understand what an engine rebuild entails and why it's necessary. An engine rebuild involves disassembling the engine, cleaning all the parts, replacing worn or damaged components, and reassembling the engine. This process can breathe new life into an old engine, improving performance, fuel efficiency, and longevity.
Step 1: Preparation and Planning
Gather the Right Tools and Equipment
You'll need a comprehensive set of tools, including wrenches, screwdrivers, a torque wrench, and an engine hoist. Additionally, consider investing in an engine stand for easier access and maneuverability during the rebuild.
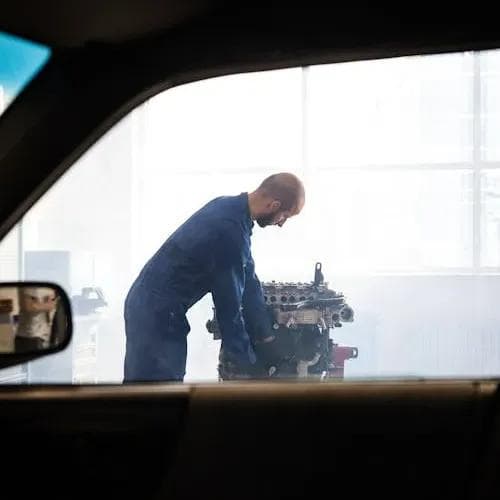
Study Your Engine
Familiarize yourself with your classic car's engine by consulting the service manual. Understand the specifications, torque settings, and assembly sequences. This knowledge is crucial for a successful rebuild.
Step 2: Engine Removal
Safety First
Ensure the car is securely lifted using jack stands and that you have ample space to work around the vehicle.
Disconnect and Remove
Begin by disconnecting the battery, draining fluids (oil and coolant), and removing any components obstructing access to the engine, such as the radiator or exhaust manifold. Carefully disconnect all wiring, hoses, and linkages connected to the engine. Finally, use an engine hoist to safely remove the engine from the car.
Step 3: Disassembly
Organize Your Workspace
Keep track of all parts and fasteners using labeled containers or bags. Taking photos during disassembly can also help with reassembly.
Clean as You Go
Cleaning parts as they're removed not only helps in inspecting for wear or damage but also ensures a cleaner rebuild process.
Step 4: Inspection and Cleaning
Inspect All Parts
Examine each component for wear, damage, or corrosion. Pay special attention to critical parts like the crankshaft, pistons, and cylinder heads.
Deciding on Replacement Parts
Based on your inspection, decide which parts need to be replaced. Always opt for quality replacement parts that match your engine's specifications.
Step 5: Reassembly
Precision is Key
Follow the service manual closely during reassembly. Use a torque wrench to ensure all bolts are tightened to the correct specifications.
Timing and Lubrication
Properly timing the engine and ensuring adequate lubrication are critical steps that can significantly impact engine performance.
Step 6: Engine Installation and Testing
Reinstall the Engine
Carefully lower the engine back into the car, reconnect all components, and refill fluids.
Initial Start-up
Before starting the engine, prime the oil system to prevent dry running. Monitor the engine closely during the initial start-up for any unusual noises or leaks.
Final Thoughts
Rebuilding an engine in a classic car is a challenging yet immensely satisfying project. It requires patience, attention to detail, and a willingness to learn. By following this guide and taking your time, you can successfully breathe new life into your classic car's engine, ensuring it runs smoothly for years to come. Whether you're a novice or a pro, the journey from dismantling to roaring back to life is one of the most rewarding experiences for any classic car enthusiast.