Patching a Bicycle Tube: A Step-by-Step Guide
Flat tires can ruin a good ride, but knowing how to patch a bicycle tube can get you back on the road or trail in no time. Whether you're a seasoned cyclist or a casual rider, this skill is invaluable. Here's a comprehensive guide to patching your bicycle tube effectively.
What You'll Need
Before you start, make sure you have the following items:
- A bicycle pump or air compressor
- Tire levers
- A patch kit (which should include sandpaper or a metal scuffer and rubber cement)
- A bowl of water (optional)
- Clean cloth or paper towel
Step 1: Remove the Wheel and Tube
- Deflate the Tire Completely: If there's any air left in the tire, press the valve to release it.
- Remove the Wheel: For most bicycles, you'll need to open the quick release lever or use a wrench to loosen the nuts holding the wheel in place.
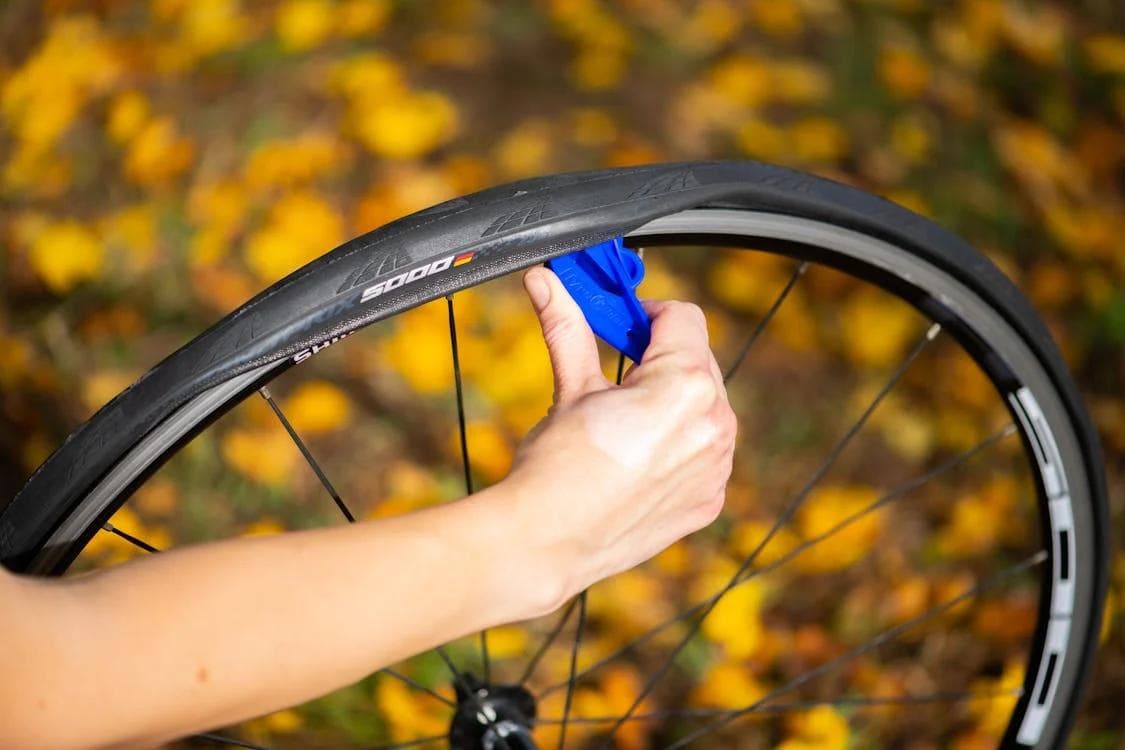
- Take Out the Tube: Insert the flat end of a tire lever under the tire's bead (the edge of the tire that sits inside the rim) and pry it up. Slide another lever under the bead about 6 inches away and slide it around the rim to free one side of the tire. Pull the tube out gently.
Step 2: Locate the Hole
- Inflate the Tube: Pump air into the tube to make the hole easier to find.
- Listen and Feel for the Leak: Slowly rotate the tube near your ear and listen for escaping air, or run your hand around the tube to feel for air.
- Use Water to Find Small Leaks: If you can't find the hole, submerge the inflated tube in water and look for bubbles. Mark the hole with a pen or chalk.
Step 3: Prepare the Tube
- Deflate the Tube: Once you've found the hole, let all the air out.
- Clean and Scuff the Area: Use a clean cloth to wipe around the hole. Then, use the sandpaper or metal scuffer from your patch kit to roughen an area slightly larger than your patch around the hole. This helps the patch adhere better.
Step 4: Apply the Patch
- Apply Rubber Cement: Spread a thin layer of rubber cement over the scuffed area and let it dry for about 5 minutes. Don't skip this step—rubber cement acts as a primer for the patch.
- Apply the Patch: Peel the backing off the patch and press it firmly onto the glued area. Hold it in place for at least 30 seconds.
- Seal the Edges: Make sure the edges of the patch are firmly pressed down. Some cyclists like to roll a tire lever over the patch to ensure a good seal.
Step 5: Reassemble and Inflate
- Check the Tire: Before putting the tube back in, run your fingers along the inside of the tire to check for any objects that might puncture the tube again.
- Insert the Tube: Start by inserting the valve through the hole in the rim, then carefully work the tube back inside the tire.
- Fit the Tire Back on the Rim: Use your hands to push the tire bead back inside the rim. Avoid using tire levers for this step, as they can pinch and puncture the tube.
- Inflate the Tire: Use your pump to inflate the tire to the recommended pressure, which is usually indicated on the tire's sidewall.
Conclusion
Patching a bicycle tube is a straightforward process that can save you time and money. With a little practice, you'll be able to fix flat tires quickly and get back to enjoying your ride. Remember, the key to a successful patch job is preparation and patience. Happy cycling!