Houseplants: A Comprehensive Guide to Repotting
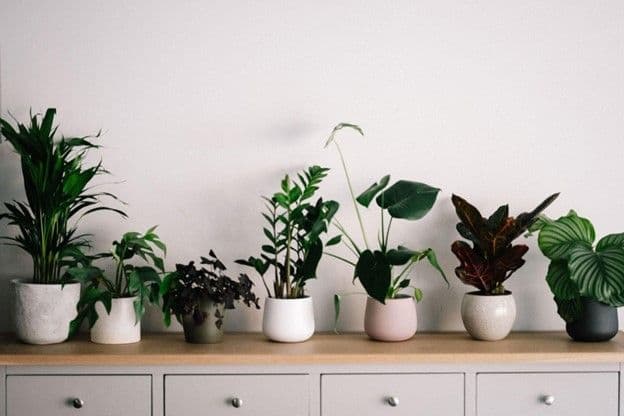
Houseplants have the potential to instantly enhance the look and feel of your home. From lush philodendrons to sturdy succulents, indoor greenery can add a touch of sophistication to your space while lifting your mood and purifying the air. However, keeping your plants looking healthy and fresh requires careful maintenance. As well as watering and feeding your plants, you must repot them every so often to keep their roots healthy and refresh the soil.
Failure to repot your plants could stunt their growth or lead to problems such as root rot. In a worst-case scenario, leaving your plant to sit in the same soil for months on end could even kill it. If you’re new to the world of plant maintenance and wondering how to repot a plant, we’ve put together a guide to repotting common indoor species without damaging them. We’ll cover the basics involved in repotting plants, including best practices and how to avoid transplant shock.
Remember: you can always ask our plant experts a question if you need additional help. We’ll work hard to come up with a bespoke solution to your issues and provide the peace of mind you crave.
How to Repot a Plant Without Killing It
The first step to repotting a plant is to identify an appropriate time for carrying out the task. While the maintenance requirements of different species can differ widely, there are a few signs that indicate your plant needs repotting. If your plant is growing more slowly than usual, appears unusually top-heavy, requires more frequent waterings, or has roots that grow too large for the planter, it’s time to repot your plant.
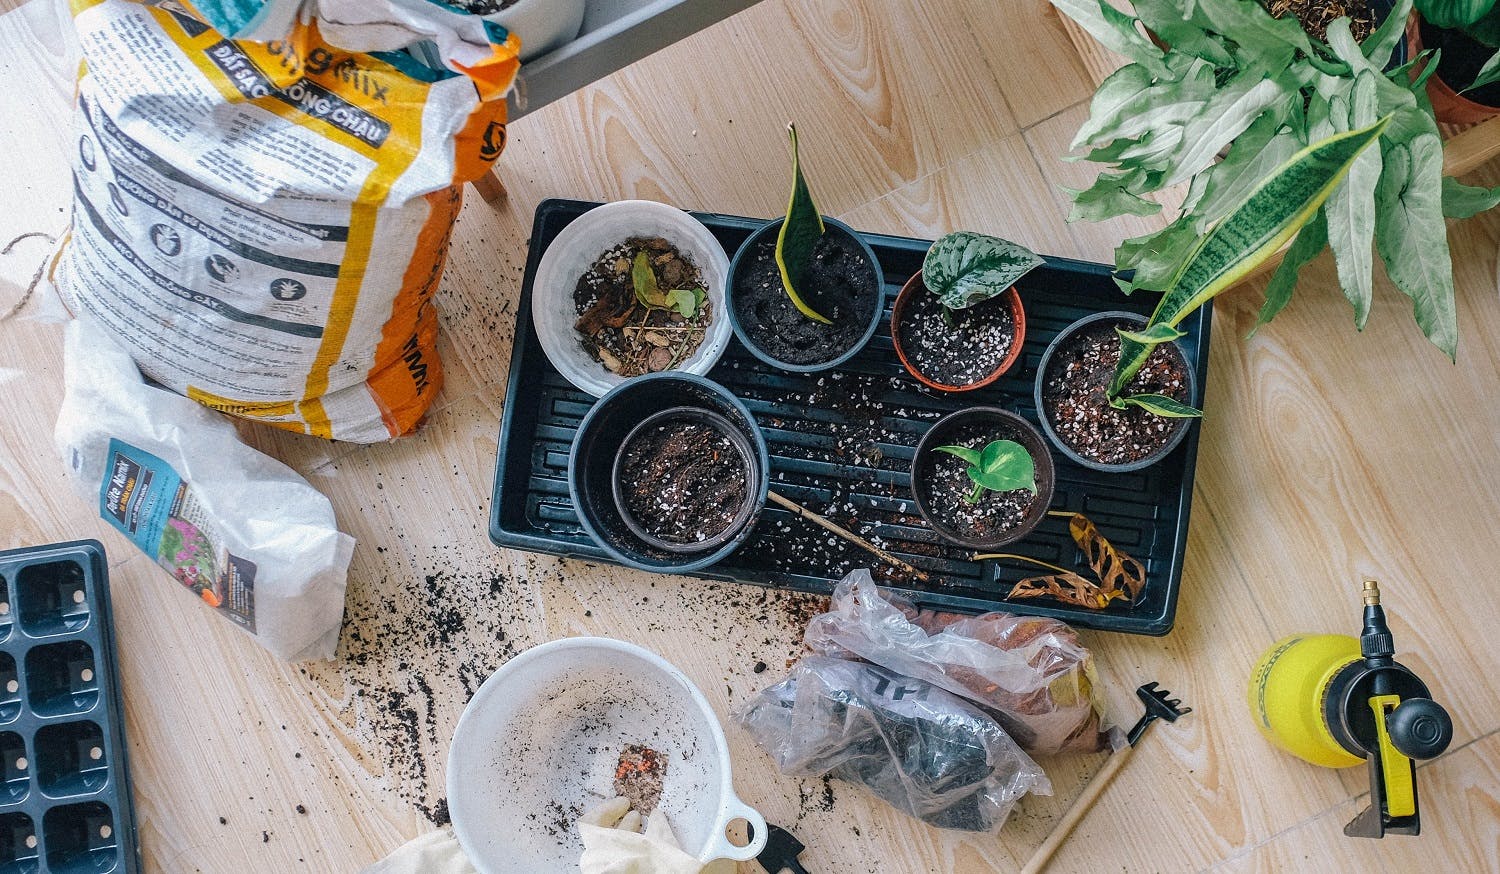
Here are the main steps you should follow when repotting a plant:
- Purchase potting mix from a trusted retailer and spread a layer of the mix in a suitably sized planter. Pack it down to make a dense layer.
- Gently remove your plant from its current container. If the plant doesn’t slide out easily, tap the bottom of the container until the plant starts to give way.
- Prune any dead or long roots.
- Gently unwind any roots that are tightly curled and trim them slightly.
- Remove some of the old potting mix from the plant’s roots.
- Insert the plant into the planter containing fresh potting mix, adding as much mix as you need for the plant to fit securely. Just remember to leave some space below the rim of the planter to aid easy watering.
Why is Repotting a Plant Important?
While it may seem tempting to leave your plant in the same soil for as long as possible, regular repotting will ensure its roots have enough room to grow and thrive. As plants age, their roots expand to ensure they can suck up enough water to remain healthy. If your plant can’t stay hydrated and absorb the nutrients it needs to survive, it will start to wilt and suffer.
Repotting is also vital for refreshing the available nutrients in the soil. The longer you leave a plant in the same potting mix, the fewer nutrients will be available to keep the plant strong, sturdy, and happy.
Finally, it’s worth noting that indoor plants are prone to pests, diseases, and mold, particularly in spaces with poor ventilation. If your plant starts to suffer from any of these issues, repotting can quickly remedy the problem.
5 Essential Repotting Tips and Reminders to Keep in Mind
While repotting your plant may seem simple, we’ve put together some best practices to make sure you get it right:
Tip #1: Find a slightly larger pot
Moving your plant to a slightly larger planter and pot will ensure it has room to grow and reduce the need for frequent repotting.
Tip #2: Wear gloves
While not strictly necessary, wearing thick gardening gloves will protect your hand from dirt and other undesirable substances. They’ll also protect your hands from painful thorns if you’re repotting a cactus.
Tip #3: Avoid repotting flowering plants
Houseplants tend to flower when their soil conditions are favorable. Tinkering with your plant when it’s trying to flower could interrupt the flowering process.
Tip #4: Use a pot with drainage holes
Remember to repot your plant using a container with drainage holes. Without holes, your plant is likely to suffer from overwatering and root rot.
Tip #5: Use a clean pot
Don’t repot your plant using a dirty container. It may contain bacteria or fungi that could spread and harm your plant.
How to Protect Your Plants from Transplant Shock
Transplant shock occurs when a plant doesn’t adapt well to a new environment. Primary symptoms of the condition include wilting leaves, sudden deterioration of fruit or flowers, dying branches, and even death of the plant. Fortunately, transplant shock is avoidable if you follow these simple tips:
- Try to handle the roots very gently, avoiding shaking or damaging them.
- Make sure as much of every root remains intact as possible. While minor trimming can help the roots thrive, the removal of healthy roots will negatively impact the plant.
- Water the plant after you’ve moved it to a new home. This will ensure the plant remains hydrated and adapts well to its new location.
- Keep the plant’s root ball moist while making the transfer.
Help Your Plants Thrive with These Repotting Tips
As you can see, there are several steps you can take to ensure your plant stays healthy and fresh all year round. As a general rule, moving your plants to a new home every 12 to 18 months will give them the best chance of long-term survival (although succulents can often last much longer without repotting). By following the steps and tips laid out in the guide, you can ensure that your repotting goes smoothly while minimizing the chances of transplant shock.
Of course, repotting alone won’t keep your indoor plants looking their best. You’ll also need to provide your plant with sufficient light and water, watch out for pests, prune the leaves, and more.