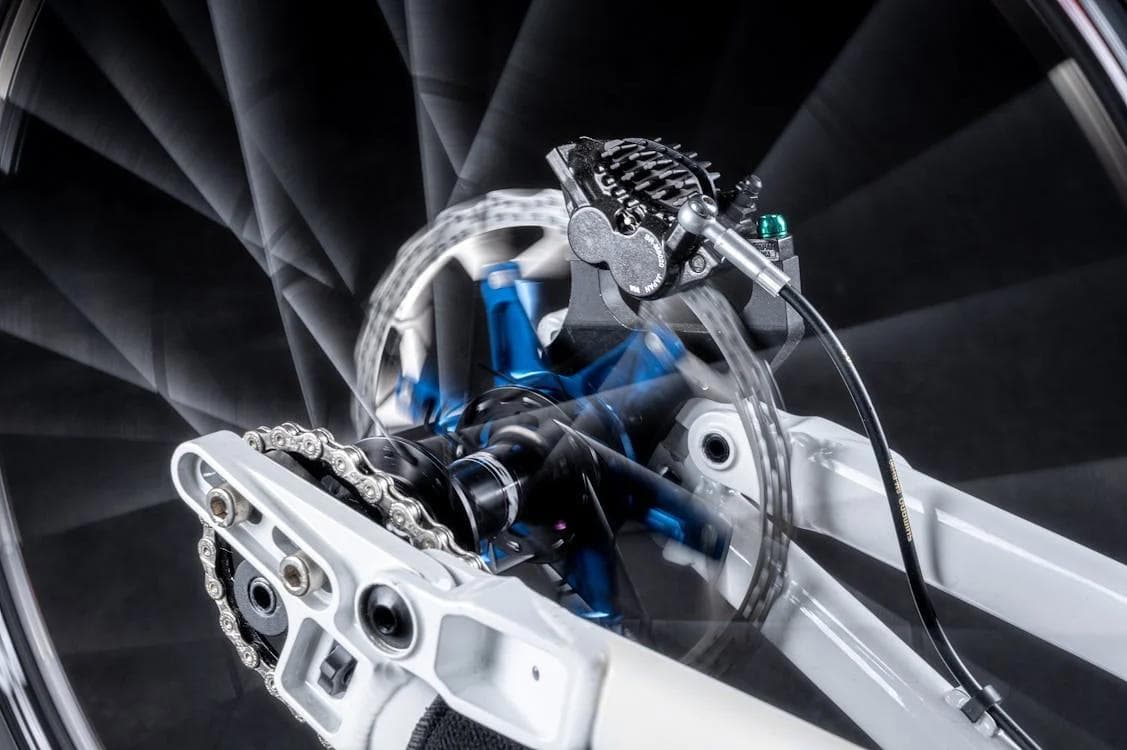
Bicycle brakes are crucial for safe riding, ensuring you can stop or slow down when needed. However, misaligned brakes can lead to poor braking performance, increased wear on brake components, and even dangerous riding conditions. This guide will walk you through diagnosing and fixing misaligned bicycle brakes, ensuring your ride is as safe and enjoyable as possible.
Diagnosing Misaligned Bicycle Brakes
Before you start adjusting, it's important to diagnose the issue correctly. Here are common signs of misaligned brakes:
- Uneven Brake Pad Wear: If one brake pad is wearing down faster than the other, it's likely misaligned.
- Squeaking Noises: Misaligned brakes often make squeaking or grinding noises when applied.
- Poor Braking Performance: If your brakes are not as responsive as they should be, misalignment could be the culprit.
- Visual Inspection: Look at the brake pads in relation to the rim. They should be evenly spaced on either side and not touching the tire.
Tools You'll Need
- Allen keys or a hex wrench set
- Phillips or flat-head screwdriver (depending on your brake system)
- Torque wrench (optional but recommended for precise adjustments)
Step-by-Step Guide to Fixing Misaligned Brakes
1. Loosen the Brake Caliper
Using your Allen keys or hex wrench, slightly loosen the bolts that attach the brake caliper to the bike frame or fork. You want it loose enough to move but not completely detached.
2. Realign the Brake Pads
Squeeze the brake lever to bring the brake pads into contact with the rim. While holding the brake lever, carefully realign the brake caliper so that the pads are evenly spaced on either side of the rim. Ensure the pads are not touching the tire.
3. Tighten the Brake Caliper
While still holding the brake lever, tighten the caliper bolts back into place. If you have a torque wrench, use the manufacturer's recommended torque settings to avoid over-tightening.
4. Adjust the Brake Pads
If the brake pads themselves are misaligned (not making even contact with the rim), you'll need to adjust them individually. Loosen the bolt holding the brake pad, realign it so it's parallel to the rim, and retighten. Ensure there's a slight gap (about 1-2 mm) between the pad and the rim when the brake is not engaged.
5. Test the Brakes
After adjustments, spin the wheel to ensure it moves freely without the brake pads rubbing. Then, test the brake lever to ensure the brakes engage properly and evenly. It's a good idea to test ride in a safe area to confirm everything is working as it should.
Additional Tips
- Regular Maintenance: Regularly check your brakes for signs of wear and misalignment.
- Brake Pad Replacement: If your brake pads are worn down, replace them to ensure optimal performance.
- Professional Help: If you're unsure about making adjustments yourself, don't hesitate to seek help from a professional bike mechanic.
Misaligned bicycle brakes can compromise your safety and the overall riding experience. By following this guide, you can diagnose and fix misaligned brakes, ensuring your bike is safe and ready for your next ride. Remember, regular maintenance is key to keeping your bike in top condition. Happy riding!
