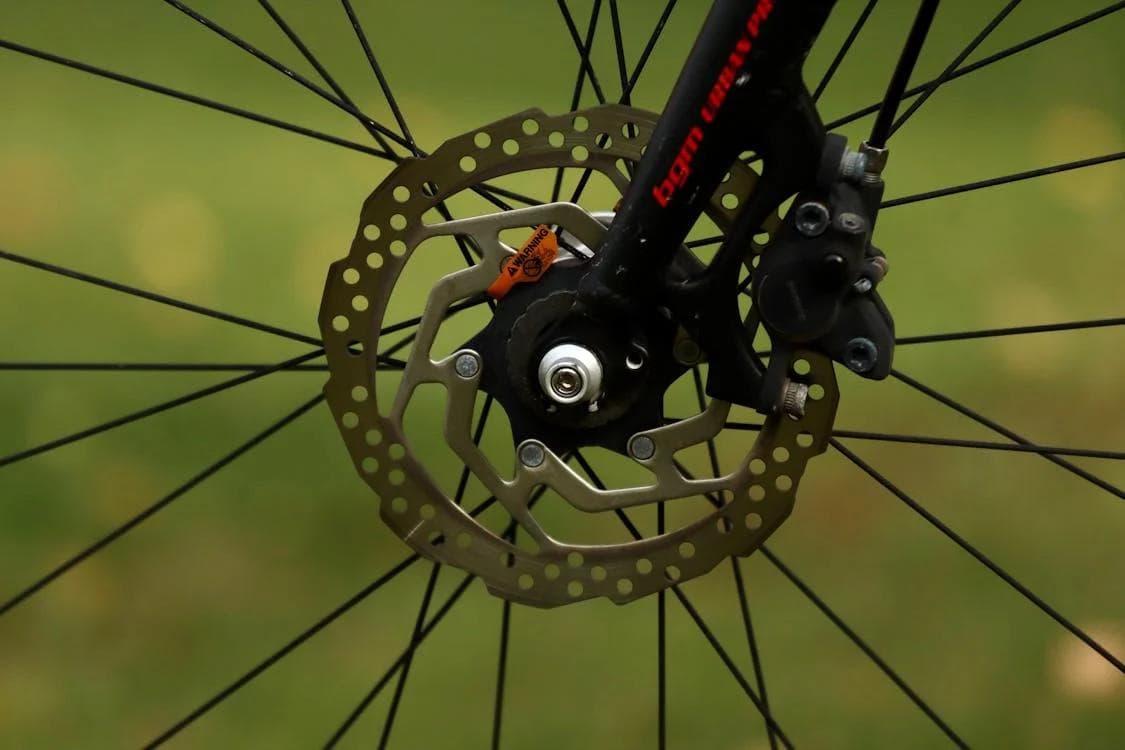
Easy DIY Bicycle Brake Alignment Guide
Maintaining your bicycle is crucial for a safe and enjoyable ride. One common issue cyclists face is misaligned brakes, which can affect braking efficiency and overall safety. Fortunately, correcting misaligned brakes is a straightforward task you can do at home with a few simple tools. This guide will walk you through the process step by step.
What You'll Need
Before you start, ensure you have the following tools:
- Allen keys or a wrench (depending on your bike's brake system)
- Clean cloth
- Lubricant (optional)
Step 1: Identify the Problem
First, you need to identify what type of misalignment your brakes have. There are two common types:
- One brake pad is closer to the rim than the other: This causes the wheel to rub against one pad, slowing you down and wearing out the brake pad.
- Both brake pads are too far from or too close to the rim: This can either make your brakes too weak or cause them to rub against the rim constantly.
Step 2: Adjusting the Brake Pads
For brakes where one pad is closer to the rim:
- Loosen the bolt holding the brake pad slightly using an Allen key or wrench. Do not remove the bolt completely.
- Adjust the pad so that it's parallel to the rim and ensure there's equal distance between each pad and the rim.
- Tighten the bolt securely once you're satisfied with the alignment.
For brakes that are too far from or too close to the rim:
- Locate the brake cable tension adjuster. This is usually found where the cable enters the brake mechanism.
- If the brakes are too loose (too far from the rim), tighten the cable by turning the adjuster clockwise. This brings the brake pads closer to the rim.
- If the brakes are too tight (too close to the rim), loosen the cable by turning the adjuster counterclockwise. This moves the brake pads away from the rim.
- Test the adjustment by squeezing the brake lever to ensure there's now the correct distance between the brake pads and the rim.
Step 3: Test and Fine-Tune
After adjusting, it's important to test your brakes:
- Spin the wheel to check if it moves freely without rubbing against the brake pads.
- Squeeze the brake lever to ensure the brakes engage properly and the wheel stops smoothly.
- If necessary, repeat the adjustments until you achieve the desired alignment.
Step 4: Maintenance Tips
To keep your brakes functioning well:
- Regularly check the alignment and wear of your brake pads.
- Clean your rims and brake pads with a clean cloth to remove dirt and grime.
- Apply lubricant to the brake mechanisms if they become stiff or squeaky (avoid getting lubricant on the brake pads or rims).
Conclusion
Correcting misaligned brakes is a simple yet essential part of bicycle maintenance. By following these steps, you can ensure your brakes are properly aligned, providing you with a safer and more enjoyable riding experience. Remember, regular maintenance is key to keeping your bike in top condition. Happy cycling!
