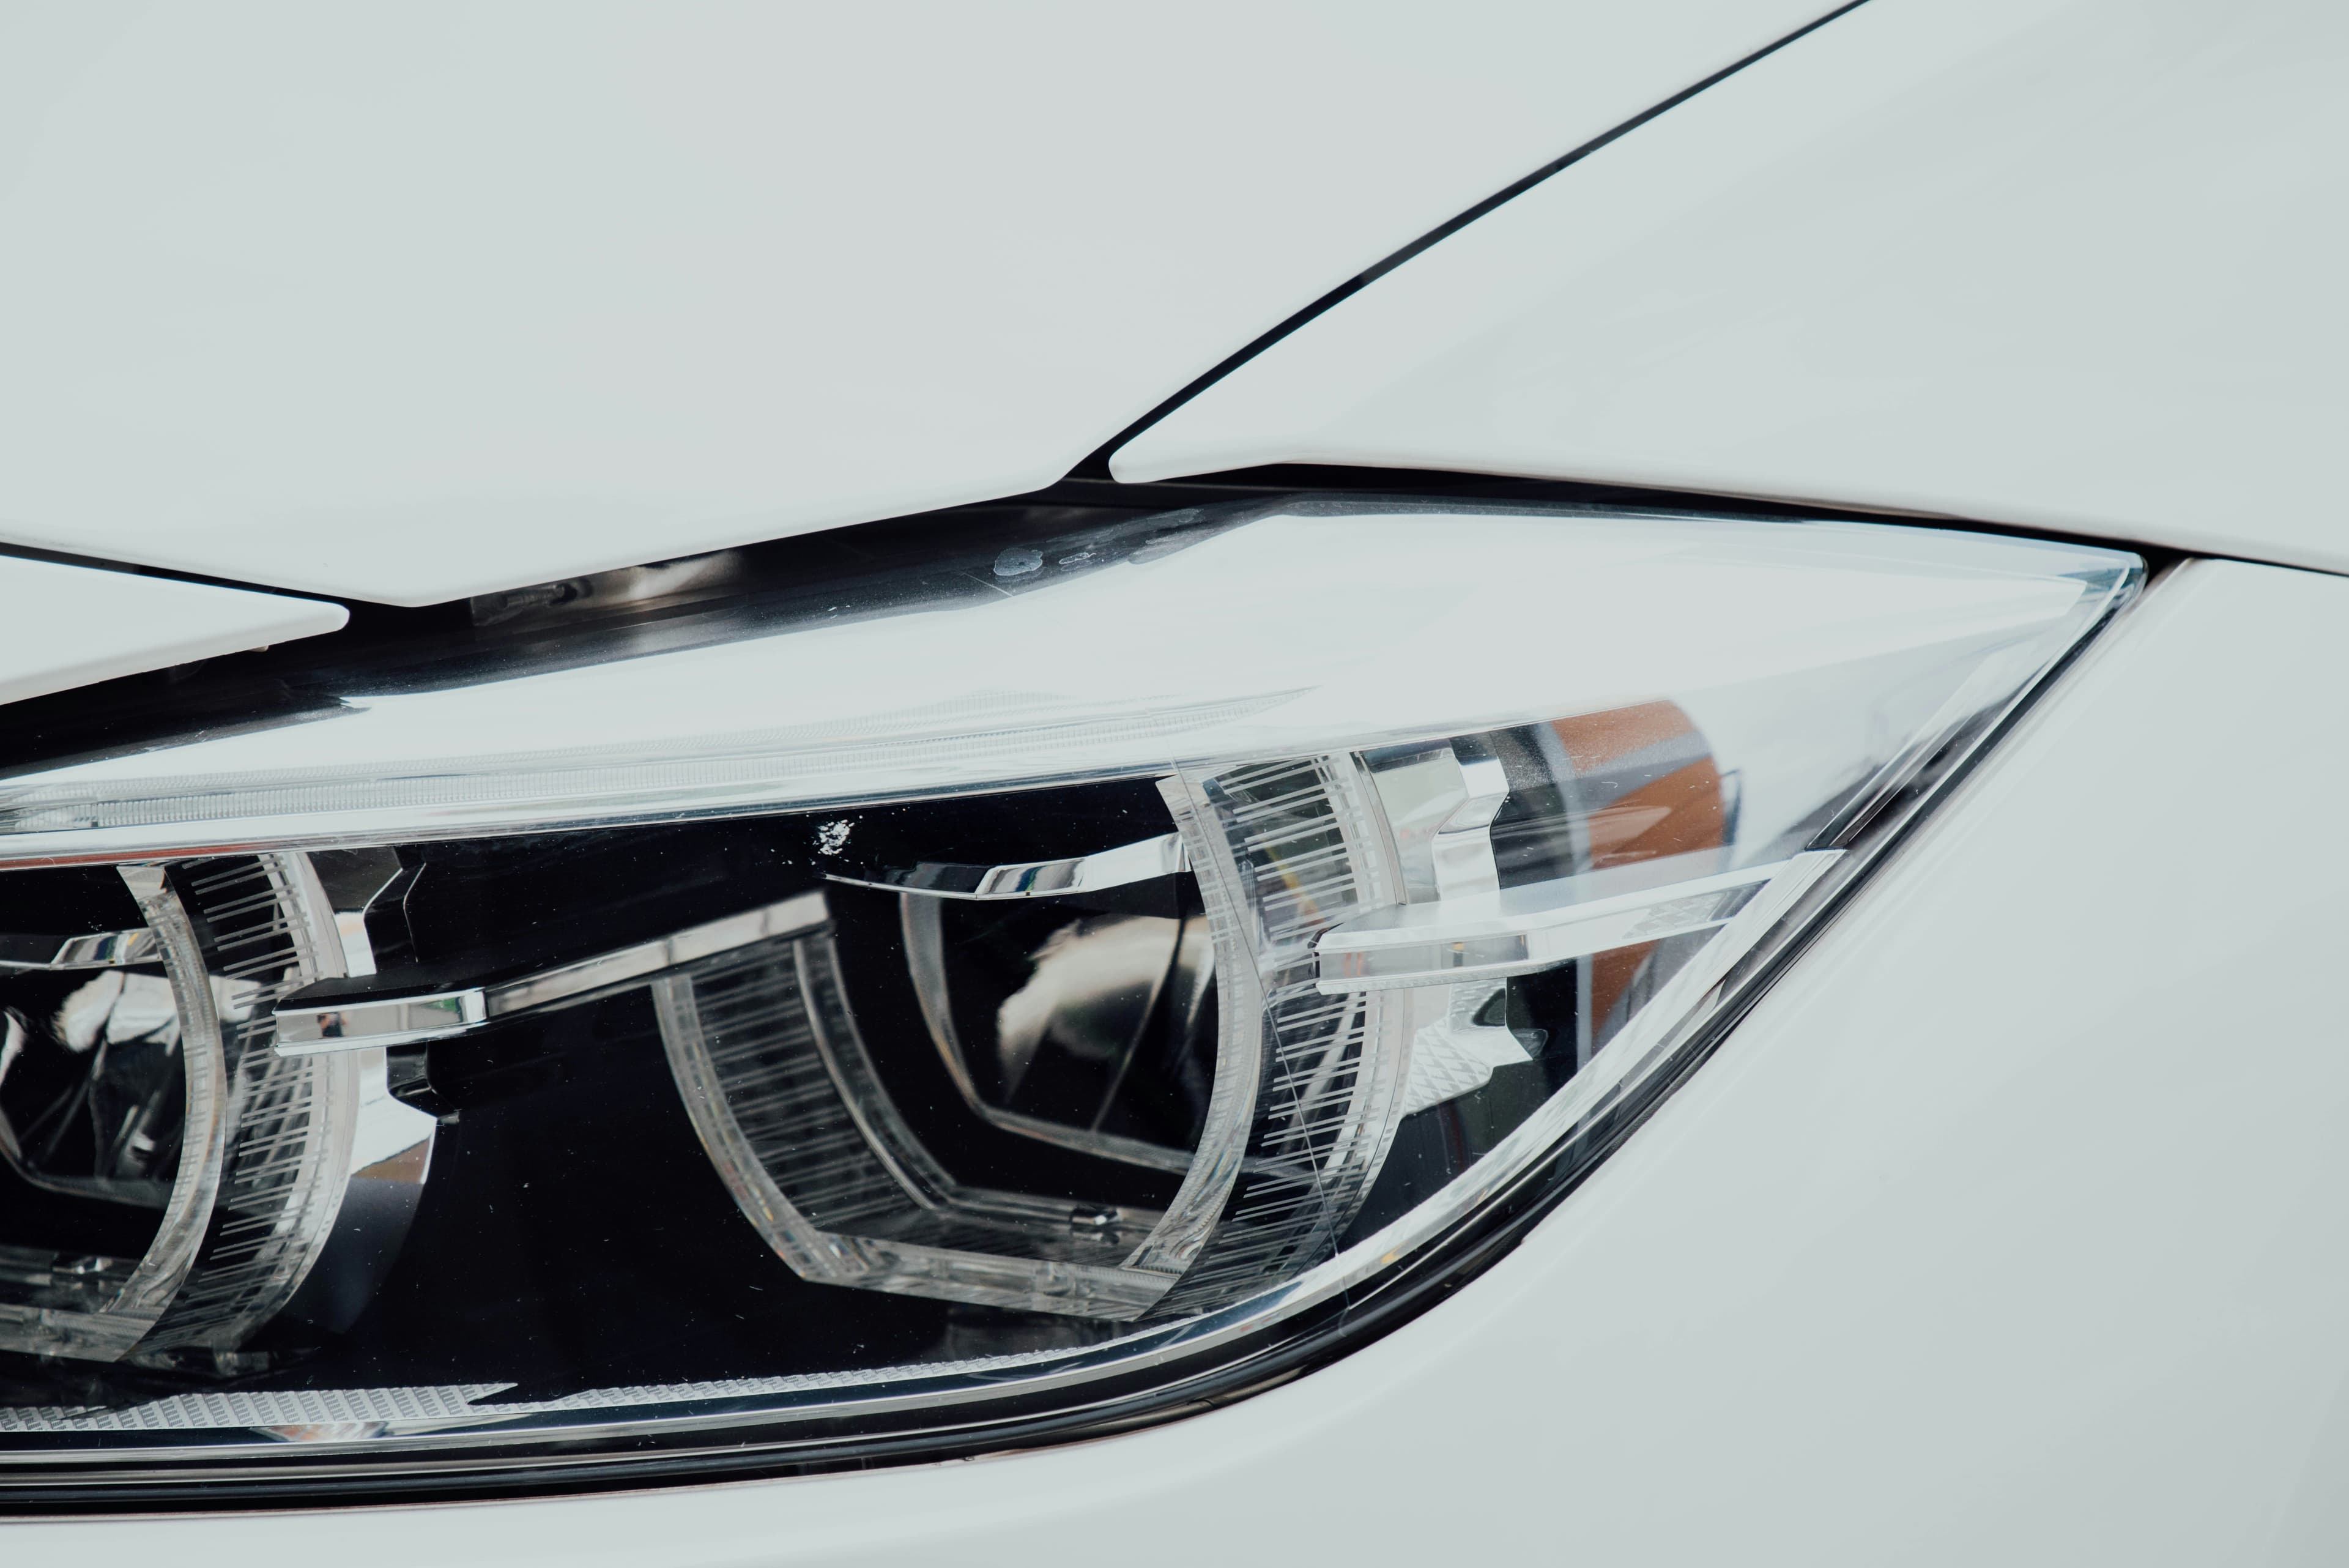
DIY Guide to Restoring Vehicle Headlights
Over time, vehicle headlights can become yellowed, cloudy, or scratched, significantly reducing visibility and the overall appearance of your car. Fortunately, with a DIY headlight restoration kit, you can easily bring back the shine and clarity of your headlights from the comfort of your home. This guide will walk you through the basics of restoring your vehicle's headlights using a DIY kit.
What You'll Need
Before you start, ensure you have the following items:
- A headlight restoration kit (available at most auto parts stores)
- Clean cloths or microfiber towels
- Masking tape
- A bucket of soapy water or a spray bottle with a mild cleaning solution
- Gloves (optional but recommended)
- Safety glasses (optional but recommended)
Step-by-Step Guide
Step 1: Prepare Your Work Area
Choose a well-ventilated area to work in, preferably in the shade or indoors, to avoid direct sunlight, which can affect the drying times of certain products used in the restoration process.
Step 2: Clean the Headlights
Start by cleaning the headlights with soapy water or a mild cleaning solution to remove any dirt, grime, or bugs. Dry them thoroughly with a clean cloth or towel.
Step 3: Tape Around the Headlights
Use masking tape to protect the surrounding areas of the headlights, such as the paintwork and trim, to avoid accidental damage during the sanding process.
Step 4: Sand the Headlights
Most DIY kits come with different grades of sandpaper. Begin with the coarsest sandpaper to remove the outer layer of oxidation. Always keep the headlight surface wet while sanding to prevent scratching. Gradually move to finer grades of sandpaper to smooth out the surface. This step is crucial for removing the yellowed and cloudy layer from the headlights.
Step 5: Polish
After sanding, apply the polishing compound provided in your kit to the headlights. Use a clean cloth to rub the compound in a circular motion, adding more compound as needed until the headlight starts to clear up. This step helps to restore the shine to the headlights.
Step 6: Apply UV Sealant
The final step is to protect your newly restored headlights with a UV sealant, which is usually included in the kit. This sealant will protect the headlights from UV rays and prevent them from yellowing quickly. Apply the sealant according to the instructions provided in your kit and allow it to dry completely.
Tips for Best Results
- Take your time with each step to ensure the best results.
- Keep the headlights wet during the sanding process to avoid scratches.
- Apply the UV sealant evenly to ensure long-lasting protection.
Conclusion
Restoring your vehicle's headlights with a DIY kit is a simple and cost-effective way to improve your car's appearance and safety. By following the steps outlined in this guide, you can achieve professional-looking results without the need for expensive tools or professional services. Remember, regular maintenance and protection of your headlights will keep them looking clear and bright for years to come.