DIY Bicycle Maintenance: Replacing Broken Spokes Like a Pro
Bicycles are not just a mode of transportation; they are a passion, a way to explore, and for many, an extension of themselves. However, like any well-used machine, they require maintenance. One common issue cyclists face is broken spokes. A broken spoke can lead to wheel imbalance, causing unnecessary wear or even accidents. Fear not, for replacing a broken spoke is a maintenance task you can do at home with the right tools and knowledge.
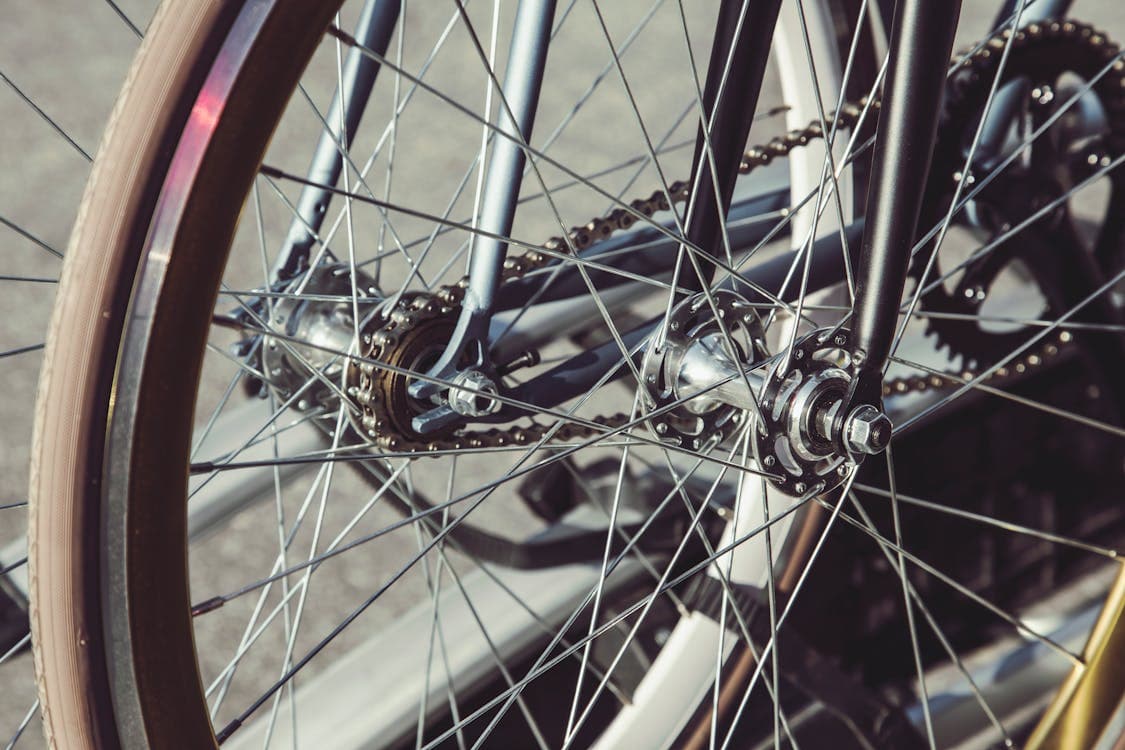
What You'll Need
Before we dive into the step-by-step process, ensure you have the following tools and materials:
- New Spoke(s): Match the length and gauge with the broken one.
- Spoke Wrench: For tightening the spoke nipples.
- Nipple Driver (optional): Helps speed up the threading of the nipple onto the spoke.
- Wire Cutters or Pliers: If you need to remove the old spoke.
- Screwdriver: Depending on your wheel's hub design.
Step 1: Remove the Wheel and Tire
First, remove the wheel from your bike. For most bikes, this involves opening the quick release lever or unscrewing the nuts holding the wheel in place. Next, deflate the tire completely and remove the tire and inner tube from the wheel rim to access the spokes.
Step 2: Remove the Broken Spoke
Locate the broken spoke. If it's still partially attached, you may need to use wire cutters or pliers to remove it from the hub and the rim. Be careful not to damage the rim or hub.
Step 3: Insert the New Spoke
Thread the new spoke through the hub in the same pattern as the other spokes. This might be a straight pattern or a more complex one, depending on your wheel. Make sure the spoke heads sit flush against the hub.
Step 4: Thread the Nipple
Once the spoke is through the hub and aligned with the correct hole in the rim, thread the nipple onto the spoke. You can start this process by hand, but a nipple driver can make this step quicker and easier. Tighten until the spoke has slight tension but is not fully tight.
Step 5: True the Wheel
This step is crucial for the longevity and performance of your wheel. Truing the wheel ensures it is perfectly round and aligned. You can do this by tightening or loosening the spokes around the area where you replaced the spoke. Use your spoke wrench and turn the nipples in small increments. Spin the wheel to check for wobbles, and adjust as necessary.
Step 6: Reinstall Tire and Wheel
Once the wheel is true, reinstall the tire and inner tube. Inflate the tire to the recommended pressure, and then mount the wheel back onto your bike.
Final Check
Before you hit the road, give your bike a thorough check. Ensure the wheel is securely attached, and the brakes are not rubbing against the tire or wheel. A quick test ride in a safe area can help confirm everything is in working order.
Conclusion
Replacing a broken spoke is a valuable skill for any cyclist. Not only does it save you a trip to the bike shop, but it also ensures you can handle minor emergencies during your rides. With practice, you'll be able to perform this maintenance quickly and efficiently, keeping your bike in top condition and your rides smooth and enjoyable.
Remember, regular maintenance is key to prolonging the life of your bike and ensuring your safety on the road or trail. Happy cycling!