Starting Your First Beehive: A Step-by-Step Guide for Novice Beekeepers
Beekeeping is a rewarding hobby that not only offers the sweet reward of honey but also contributes to the health of the environment by supporting pollinators. If you're considering starting your first beehive, this guide is designed to help you through the process, from choosing the right equipment to maintaining a healthy hive.
Step 1: Educate Yourself
Before diving into beekeeping, it's crucial to educate yourself about bee behavior, hive management, and local regulations. Consider taking a beekeeping course, joining a local beekeeping club, or reading beekeeping books and online resources.
Shop Bee Keeper Starting Kit Now
Step 2: Choose the Right Location
Your beehive should be placed in a location that receives morning sunlight, has some afternoon shade, and is protected from strong winds. Ensure the site is away from foot traffic and secure from predators. A source of water nearby is also beneficial for the bees.
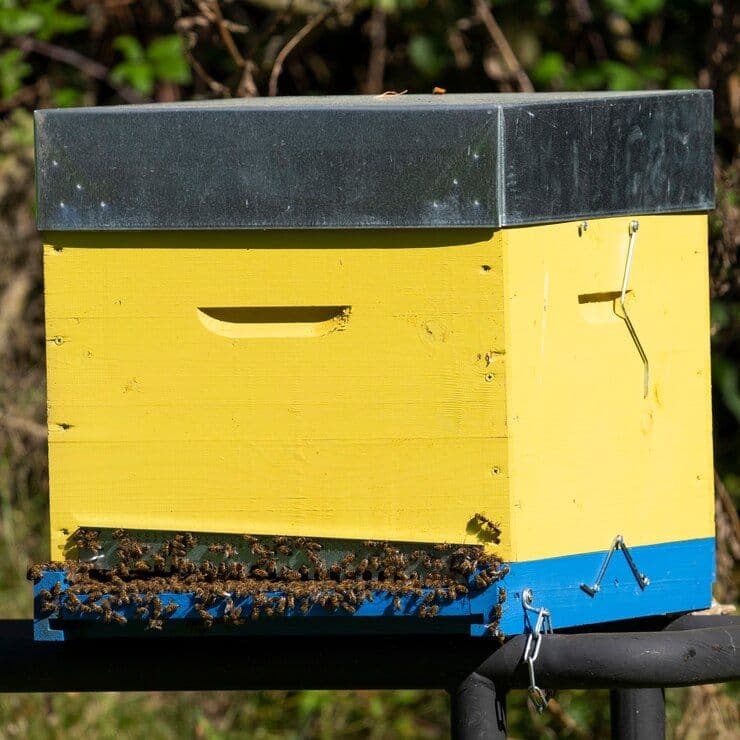
Step 3: Gather Your Beekeeping Gear
You'll need some basic equipment to start your beekeeping journey:
- Beehive: You can choose between different hive types, such as Langstroth, Top-Bar, or Warre hives. Langstroth hives are the most common for beginners.
- Protective Gear: A beekeeping suit, gloves, and a veil will protect you from bee stings.
- Tools: A hive tool for opening the hive, a smoker to calm the bees, and a bee brush.
Step 4: Purchase Your Bees
Bees can be purchased as a package, which includes a queen and several thousand worker bees, or as a nucleus colony (nuc), which is a small, established colony. For beginners, a nuc might be easier to handle.
Step 5: Install Your Bees
The process of installing your bees will depend on whether you've purchased a package or a nuc. Generally, you'll open the hive, remove a few frames to make space, and then carefully introduce the bees into the hive. If you're installing a package, you'll also need to install the queen in her separate cage.
Step 6: Feed Your Bees
Newly installed bees may need supplemental feeding, especially if natural nectar sources are scarce. You can feed them sugar syrup using a feeder placed inside or near the hive.
Step 7: Regular Hive Inspections
Regular inspections are crucial to ensure the health of your hive. Check for the presence of the queen, signs of disease or pests, and the overall well-being of the colony. During peak season, inspections might be needed weekly.
Step 8: Harvesting Honey
With proper care, your hive may produce excess honey that you can harvest. This usually happens in the second year. Remember, it's important to leave enough honey for the bees to survive the winter.
Step 9: Winterizing Your Hive
In colder climates, you'll need to prepare your hive for winter. This might include providing additional insulation and ensuring the bees have enough honey stores to last through the cold months.
Conclusion
Starting your first beehive is an exciting journey into the world of beekeeping. By following these steps and continuing to learn and adapt, you'll not only enjoy the fruits of your labor but also contribute to the health of your local ecosystem. Remember, patience and care are key to a thriving beehive. Happy beekeeping!