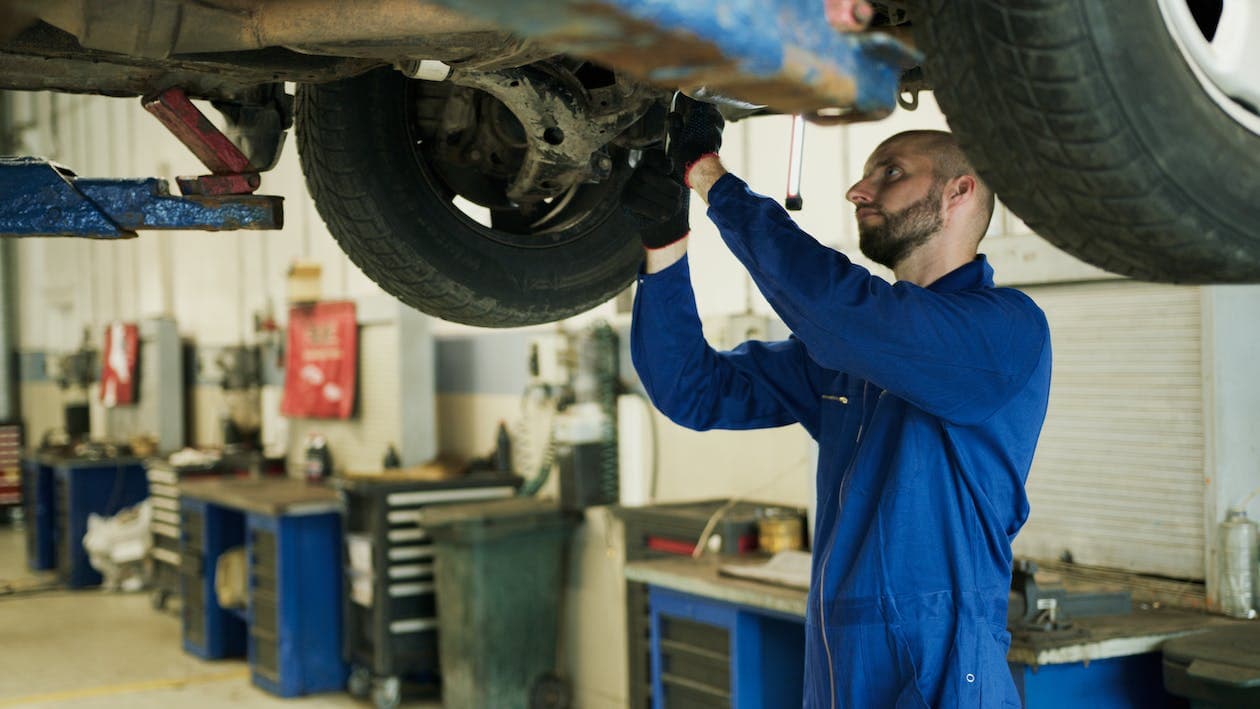
A Comprehensive Guide on Checking and Replacing Worn Ball Joints
Ball joints are pivotal components in your vehicle’s suspension system. They connect the control arms to the steering knuckles and allow for smooth operation and handling. However, like any other part of your car, they wear out over time and need replacement. This article will guide you on how to check and replace worn ball joints.
How to Check for Worn Ball Joints
The first step in maintaining your vehicle's performance is regularly checking the condition of your ball joints. Here's how:
Step 1: Look for Symptoms
-
Excessive Tire Wear: If your tires wear out unevenly or more quickly than usual, this could be a sign of worn ball joints.
-
Vibration from the Front: You may feel a vibration coming from the vehicle's front while driving.
-
Clunking Noises: Listen for any unusual sounds. A clunking noise when you go over bumps could indicate a problem with the ball joints.
Step 2: Perform a Visual Inspection
-
Check for Damage: Inspect the rubber boots surrounding the ball joints. If they are damaged or missing, it indicates that the ball joint is likely worn out.
-
Look for Looseness: If the ball joint is loose in its socket, it needs to be replaced.
How to Replace Worn Ball Joints
Replacing worn ball joints can be a complex task. If you're not comfortable doing it yourself, seek professional help. However, if you feel confident, you can follow these steps:
Step 1: Gather Your Tools
You will need a jack, jack stands, wrenches, a ball joint press, and a new ball joint.
Step 2: Remove the Old Ball Joint
-
Jack Up the Vehicle: Securely lift your vehicle using a jack and place it on jack stands.
-
Remove the Wheel: This will give you better access to the ball joint.
-
Separate the Ball Joint: Use a wrench to loosen the bolt holding the ball joint. Then, use a ball joint press to separate the ball joint from the control arm.
Step 3: Install the New Ball Joint
-
Position the New Ball Joint: Place the new ball joint into the control arm.
-
Secure the Ball Joint: Use a ball joint press to secure the new ball joint into the control arm.
-
Reassemble: Put everything back together in reverse order.
Remember, safety should be your priority. Always use quality replacement parts and tools. Regularly checking and replacing worn ball joints will ensure a smooth and safe driving experience.
Happy driving!
