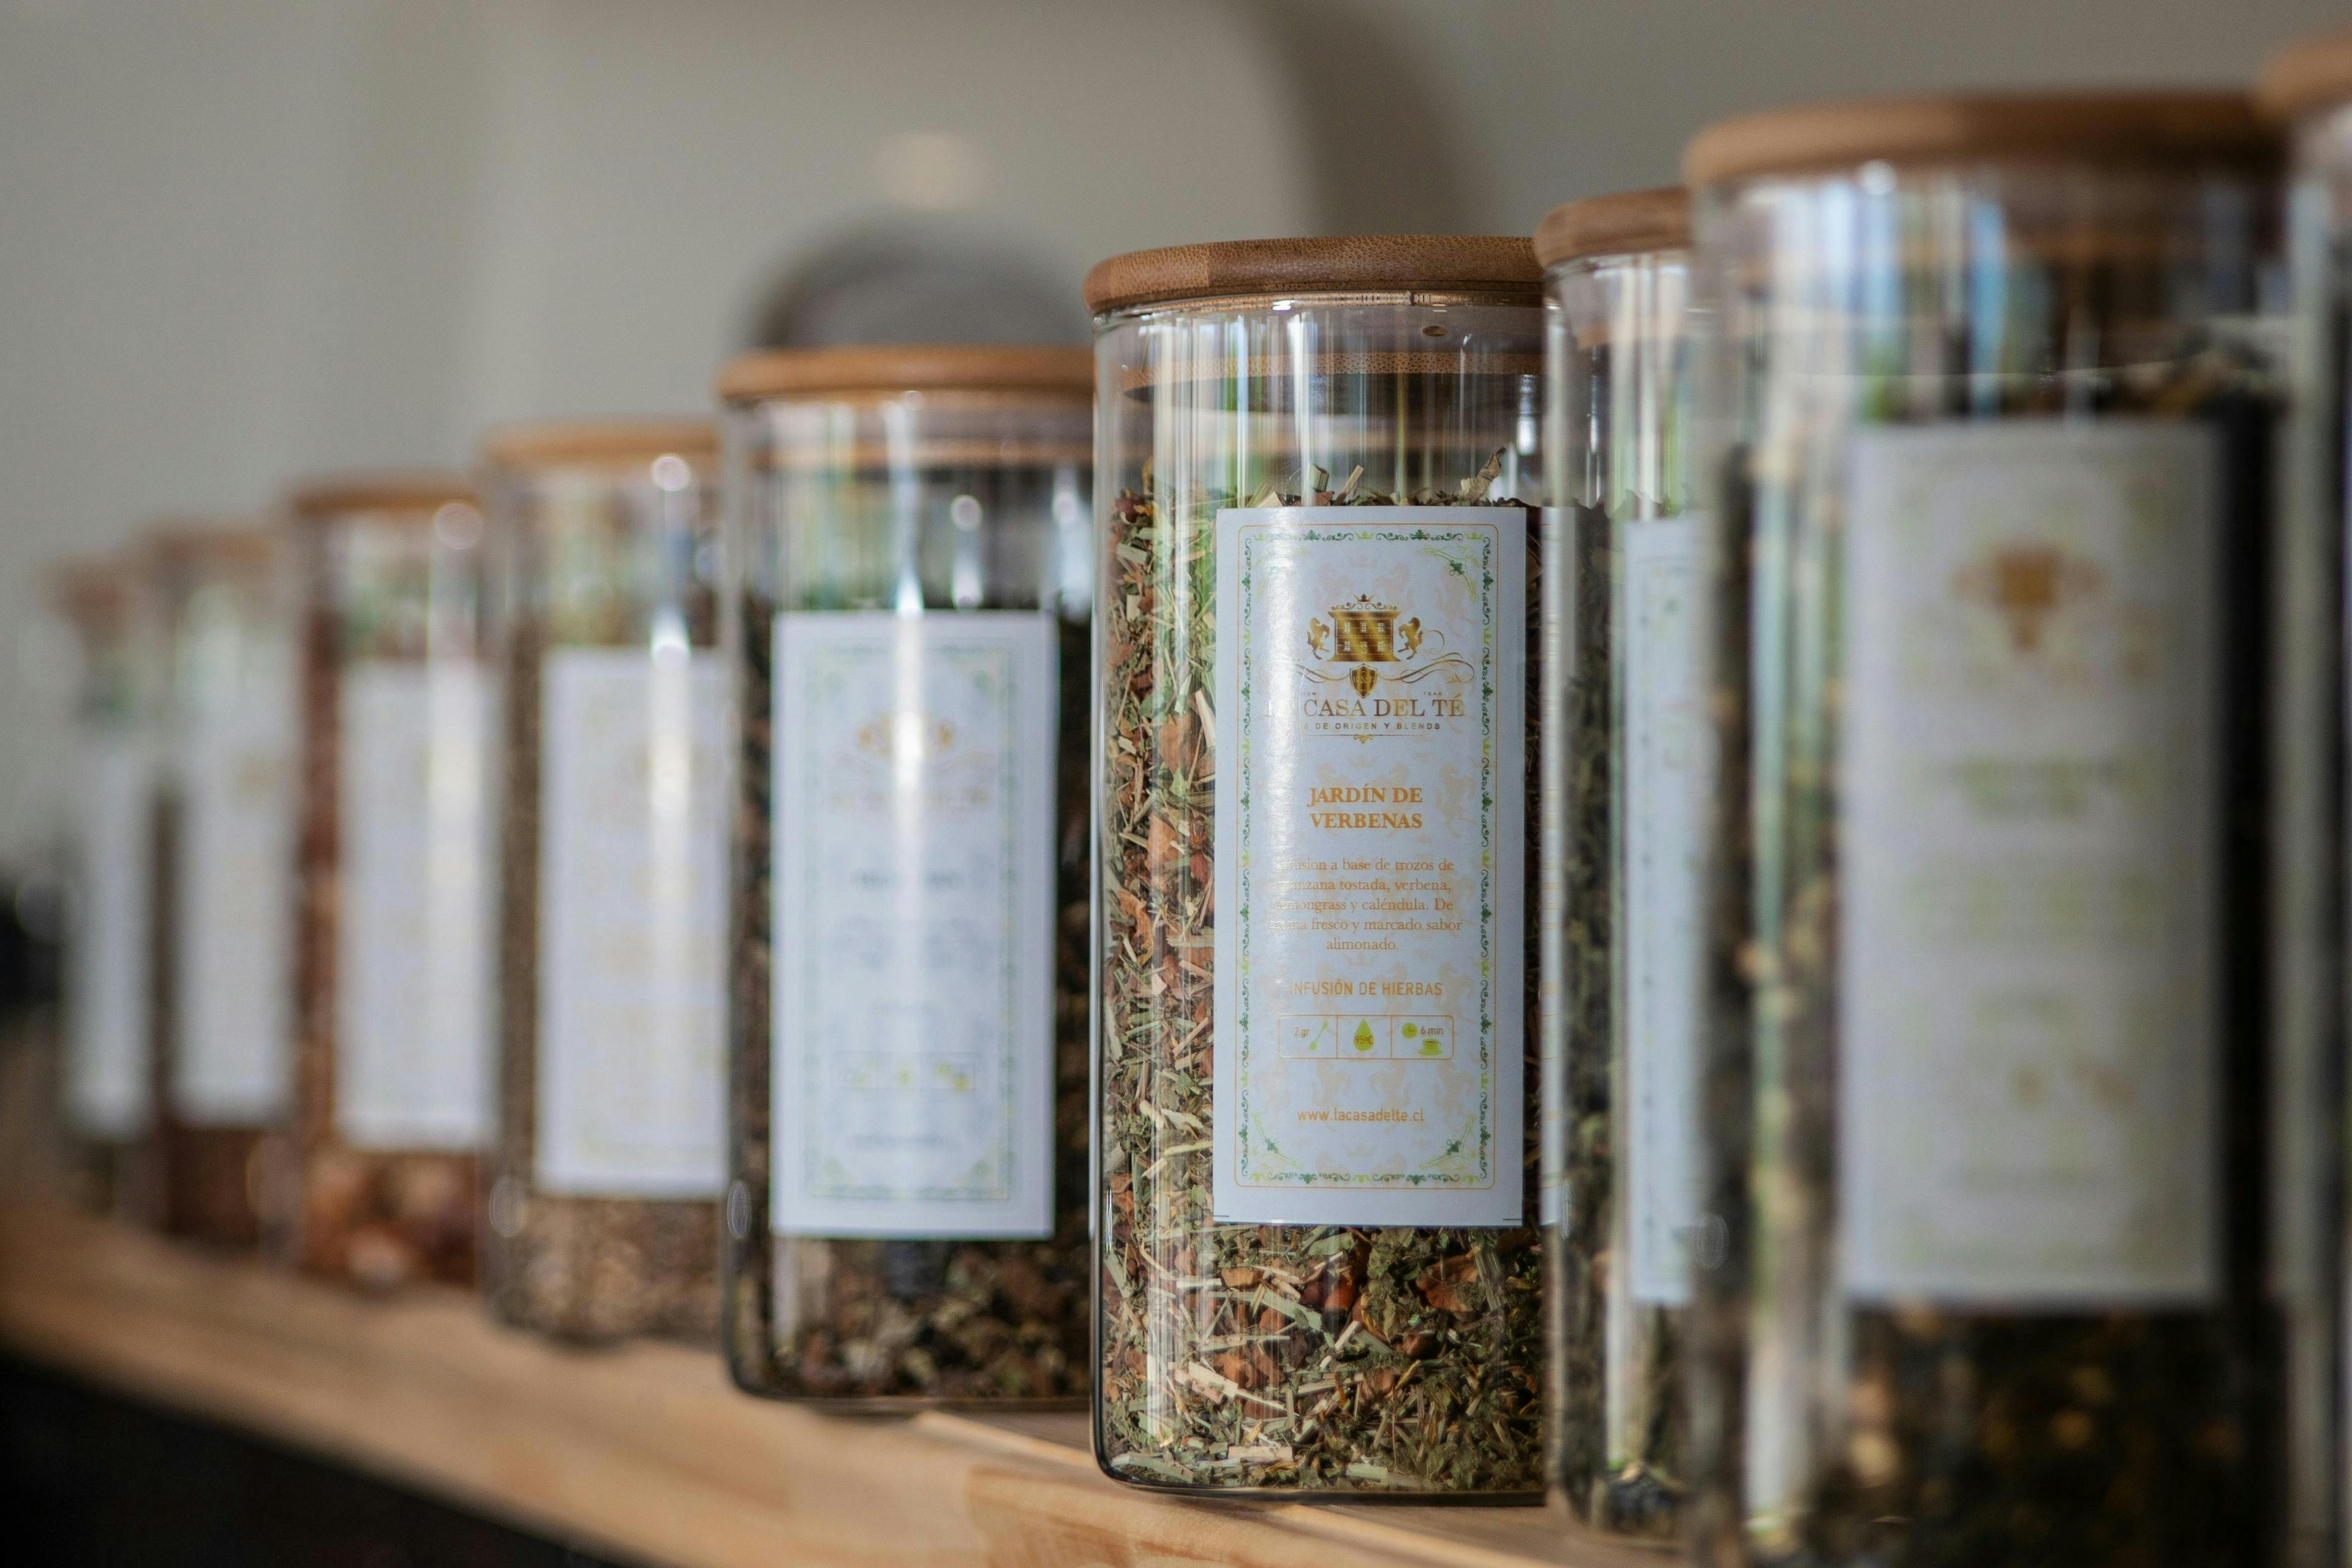
DIY Shelf Makeover: Transforming Your Space with Creativity
Transforming your living space doesn't require a complete overhaul—sometimes, a simple DIY shelf makeover can do the trick. Whether you're looking to revamp a bookshelf, kitchen rack, or wall unit, a creative touch can add personality and style to your home. Here’s how you can achieve a stunning shelf makeover with a few DIY tips and tricks.
Materials Needed
Before you start, gather all the necessary materials. Here’s a basic list to get you started:
- Sandpaper or a sanding block
- Paint or wood stain
- Paintbrushes or a small roller
- Primer (if necessary)
- Masking tape
- Decorative paper or fabric
- Mod Podge or other adhesive
- Shelving brackets (if updating)
- New shelf liners
- Decorative items for styling
Step-by-Step Guide to a Shelf Makeover
Step 1: Preparation
- Clear and Clean: Remove all items from your shelf. Clean the surface thoroughly to remove dust and grime.
- Sand: Lightly sand the surface to remove old paint or finish. This step ensures that your new paint or stain adheres properly.
Step 2: Painting or Staining
- Tape Off Areas: Use masking tape to cover any areas you do not want to paint, such as the wall or adjoining surfaces.
- Prime: If you’re making a drastic color change or working with raw wood, apply a primer to help the new paint adhere and to ensure true color.
- Paint/Stain: Apply your chosen paint or stain. Use even strokes and follow the wood grain. Apply multiple coats if necessary, allowing adequate drying time between coats.
Step 3: Adding Decorative Touches
- Line with Paper/Fabric: Cut decorative paper or fabric to size and adhere it to the back of the shelves or the shelf base using Mod Podge.
- Replace Hardware: If your shelf has visible brackets or hardware, consider replacing them with new, stylish options that complement your room’s decor.
Step 4: Reassembling and Styling
- Reassemble: Once everything is dry, reassemble your shelves if you had taken them apart.
- Style Your Shelves: Place your items back thoughtfully. Mix books with decorative items like vases, picture frames, or plants for a curated look.
Tips for a Successful Shelf Makeover
- Choose the Right Color: Consider the room’s color scheme. Neutral colors offer flexibility, while bold colors can make a statement.
- Test Your Paint: Before committing to a color, test it on a small area of the shelf to see how it looks in your space and under different lighting conditions.
- Keep Balance: When styling, maintain a balance. Use items of varying heights and textures to create interest without clutter.
Conclusion
A DIY shelf makeover is a simple yet effective way to refresh your space. With a bit of creativity and some elbow grease, you can transform an ordinary shelf into a stunning focal point of your room. Remember, the key to a successful DIY project is preparation and patience. Take your time to plan and execute, and you’ll be rewarded with a shelf that not only looks great but also reflects your personal style.
For further guidance on DIY projects or if you need personalized advice, chat with Mavyn GPT or connect with a human expert at Mavyn. We’re here to help you make your creative vision a reality!
