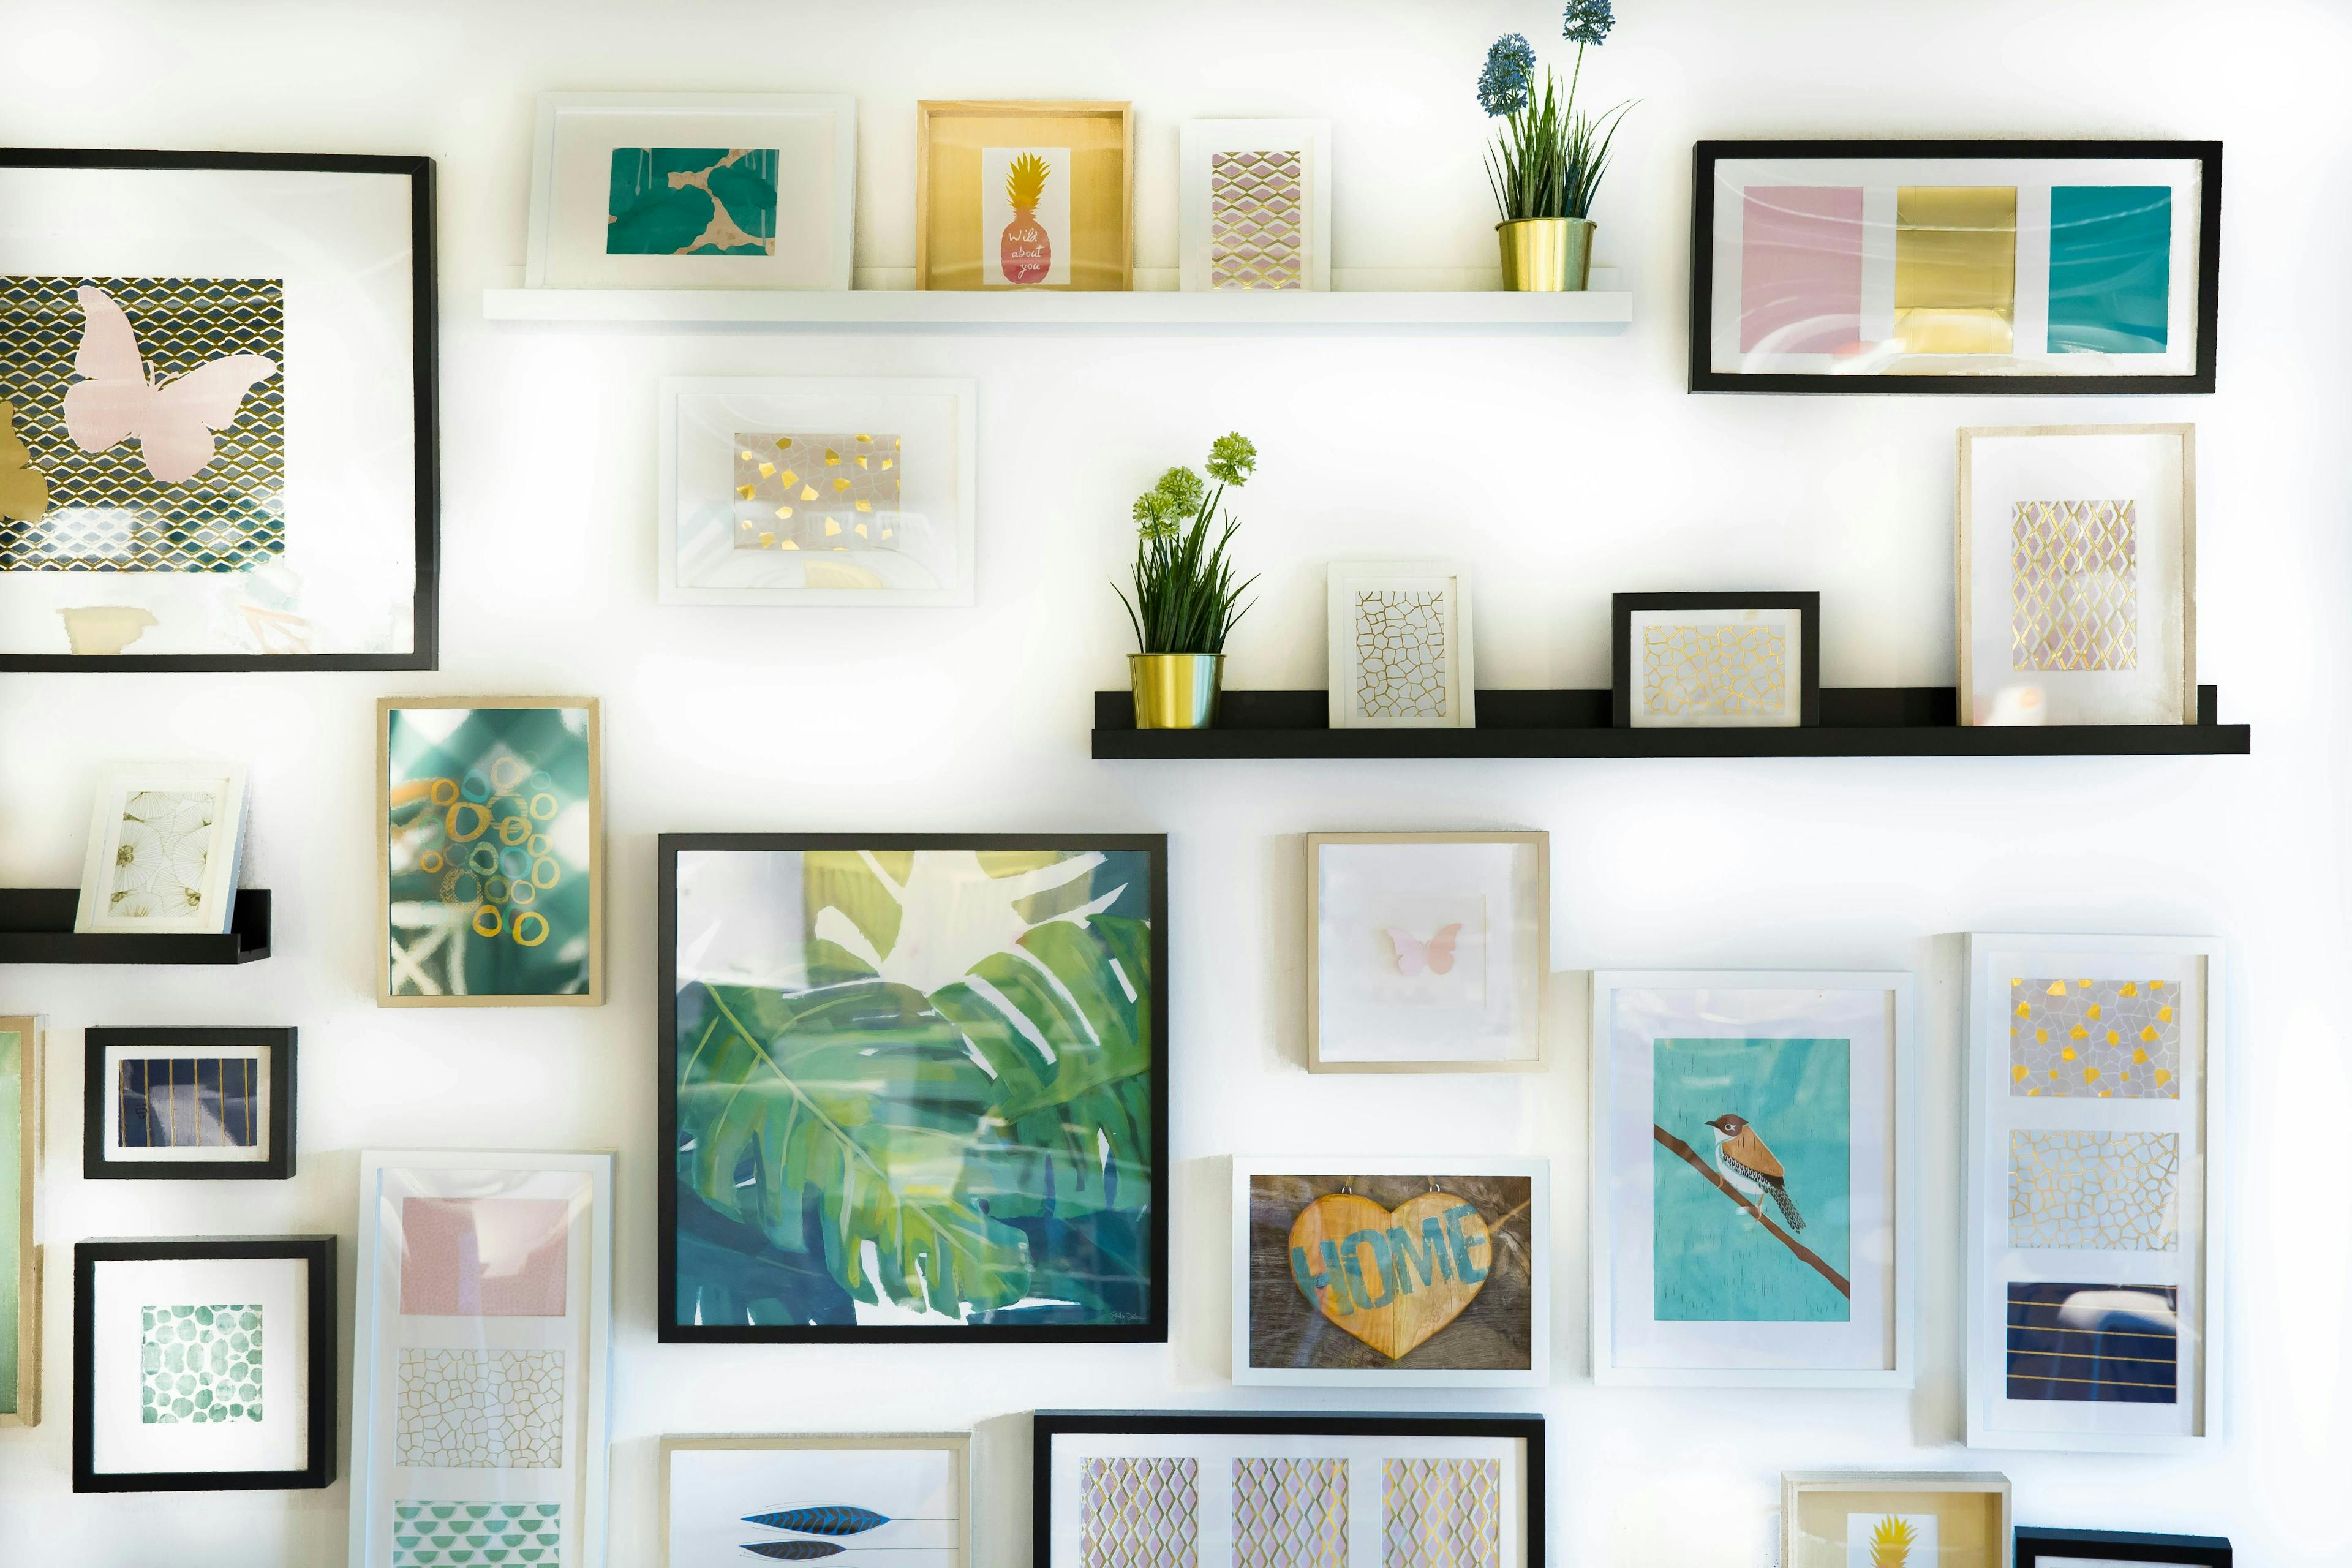
DIY Shelf Makeover: Creative Ideas for Revamping Your Shelving
Revamping your shelving can breathe new life into any room, offering both functionality and a fresh aesthetic. Whether you're a DIY novice or a seasoned crafter, Mavyn provides expert guidance through AI and human assistance to help you achieve your vision. Here are some creative ideas to inspire your next DIY shelf makeover project.
1. Paint and Patterns
Materials Needed:
- Sandpaper
- Primer
- Paint (chalk paint or acrylic)
- Painter's tape
- Brushes or rollers
Steps:
- Prep Your Shelf: Begin by sanding your shelf lightly to remove any old paint or finish. Wipe it down to remove dust.
- Apply Primer: Use a good quality primer to help the new paint adhere better and last longer.
- Tape Design: Use painter's tape to create geometric patterns or stripes on your shelf.
- Paint: Apply your chosen paint color. For a more dynamic look, use multiple colors.
- Reveal the Magic: Once dry, carefully remove the tape to reveal your design.
Example: A white shelf with navy blue chevron patterns can add a nautical feel to a room.
2. Wallpaper or Fabric Lining
Materials Needed:
- Wallpaper or fabric
- Mod Podge or wallpaper adhesive
- Scissors
- Brush
Steps:
- Measure and Cut: Measure your shelf's back panel or underside and cut the wallpaper or fabric to size.
- Apply Adhesive: Coat the surface with Mod Podge or wallpaper adhesive.
- Attach Material: Carefully place the wallpaper or fabric, smoothing out any bubbles or wrinkles.
- Seal and Finish: Apply another layer of Mod Podge over fabric to seal it.
Example: Lining the back of a bookshelf with a floral wallpaper can add a pop of color and texture.
3. Adding Lighting
Materials Needed:
- LED strip lights or puck lights
- Batteries or power source
- Adhesive clips or strong double-sided tape
Steps:
- Plan Your Placement: Decide where you want your lights. Underneath each shelf is a popular choice for a floating effect.
- Install Lights: Attach your lights using the adhesive clips or tape.
- Connect to Power: Ensure your lights are connected to a power source or have batteries installed.
- Test Your Lights: Turn them on to check the placement and effect.
Example: Warm LED strip lights under kitchen shelves can enhance the ambiance and make the space feel cozy.
4. Change Hardware
Materials Needed:
- New brackets or supports
- Screwdriver
- Screws
Steps:
- Select New Hardware: Choose brackets that complement your room’s decor.
- Remove Old Hardware: Use a screwdriver to remove the existing brackets.
- Install New Hardware: Attach your new brackets with screws, ensuring they are tight and secure.
Example: Replacing metal brackets with rustic wooden ones can shift a room's look from modern to farmhouse chic.
5. Add Decorative Edges or Trim
Materials Needed:
- Wood trim or molding
- Saw
- Wood glue or nails
- Paint or stain
Steps:
- Measure and Cut: Measure the edges of your shelf and cut the trim to fit.
- Attach Trim: Use wood glue or nails to attach the trim along the edges.
- Finish: Paint or stain the trim to match or contrast with your shelf.
Example: Adding a scalloped trim painted in gold can give shelves an elegant, vintage look.
Conclusion
Shelf makeovers are a simple yet effective way to transform your space. With these creative ideas, you can easily give your old shelves a new lease on life. If you need further assistance or creative input, chat with Mavyn GPT or connect with a human expert at Mavyn. We're here to help you make your DIY projects successful!
Remember, the right tools and a bit of creativity can go a long way in personalizing your living space. Happy DIY-ing!